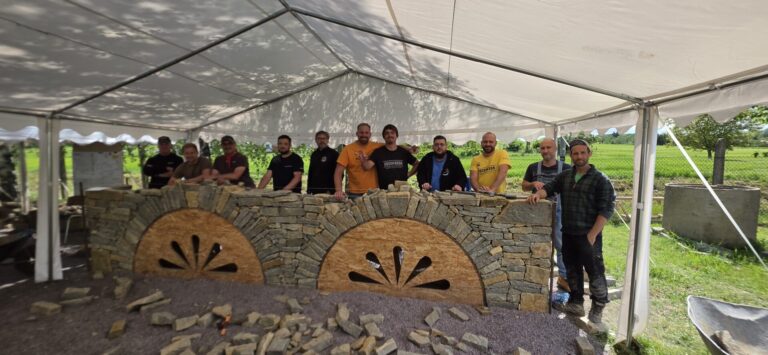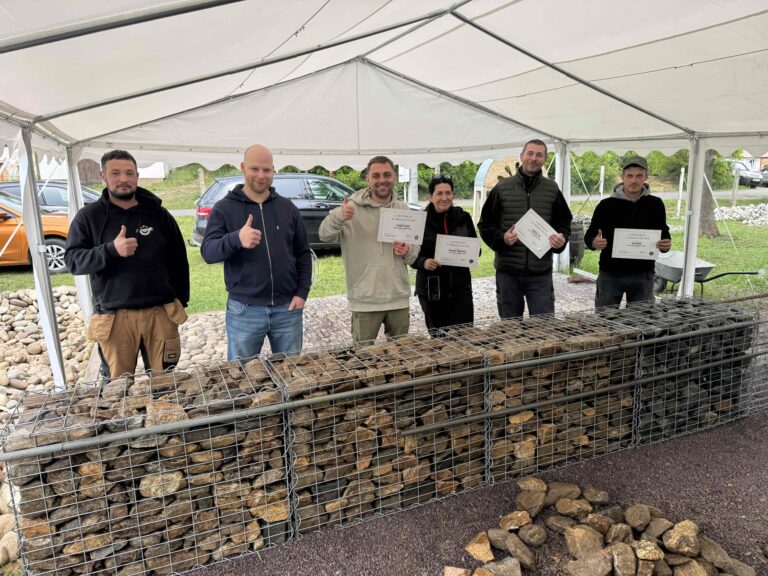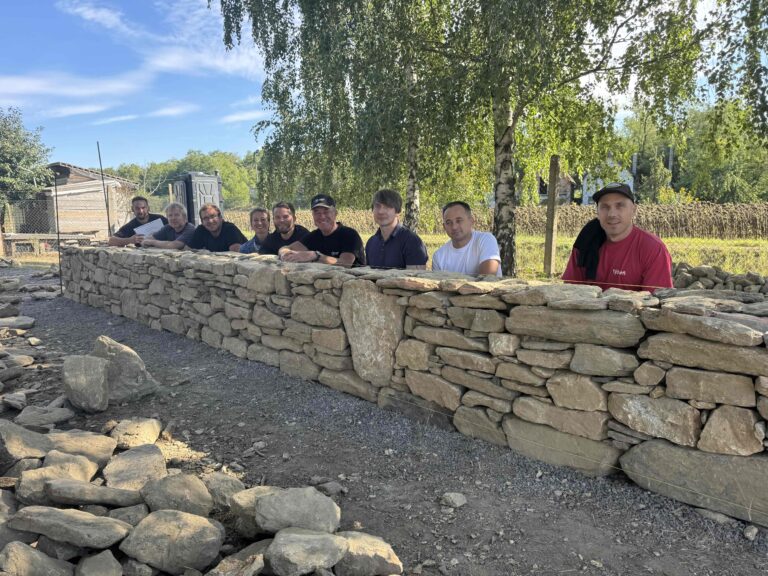


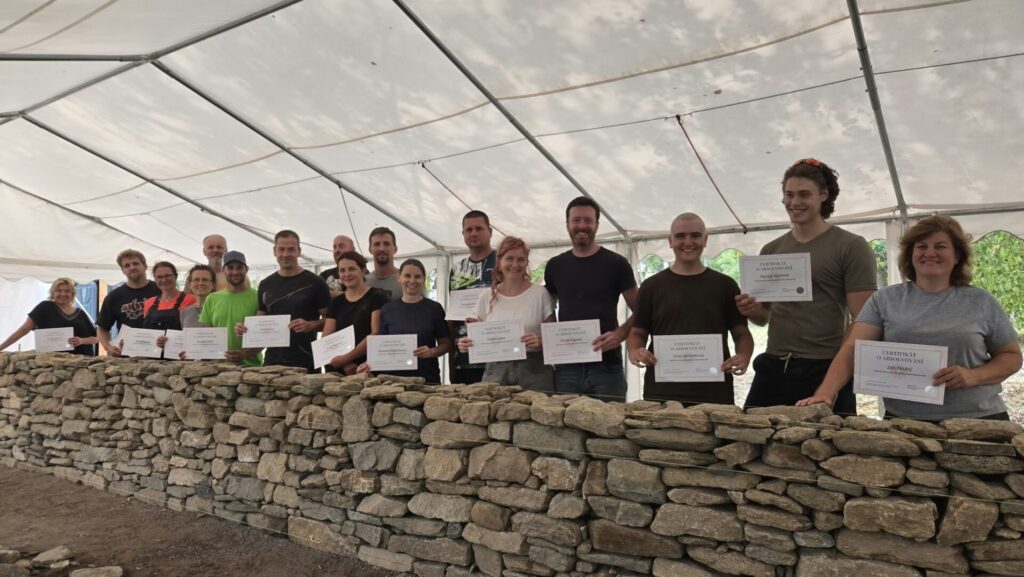
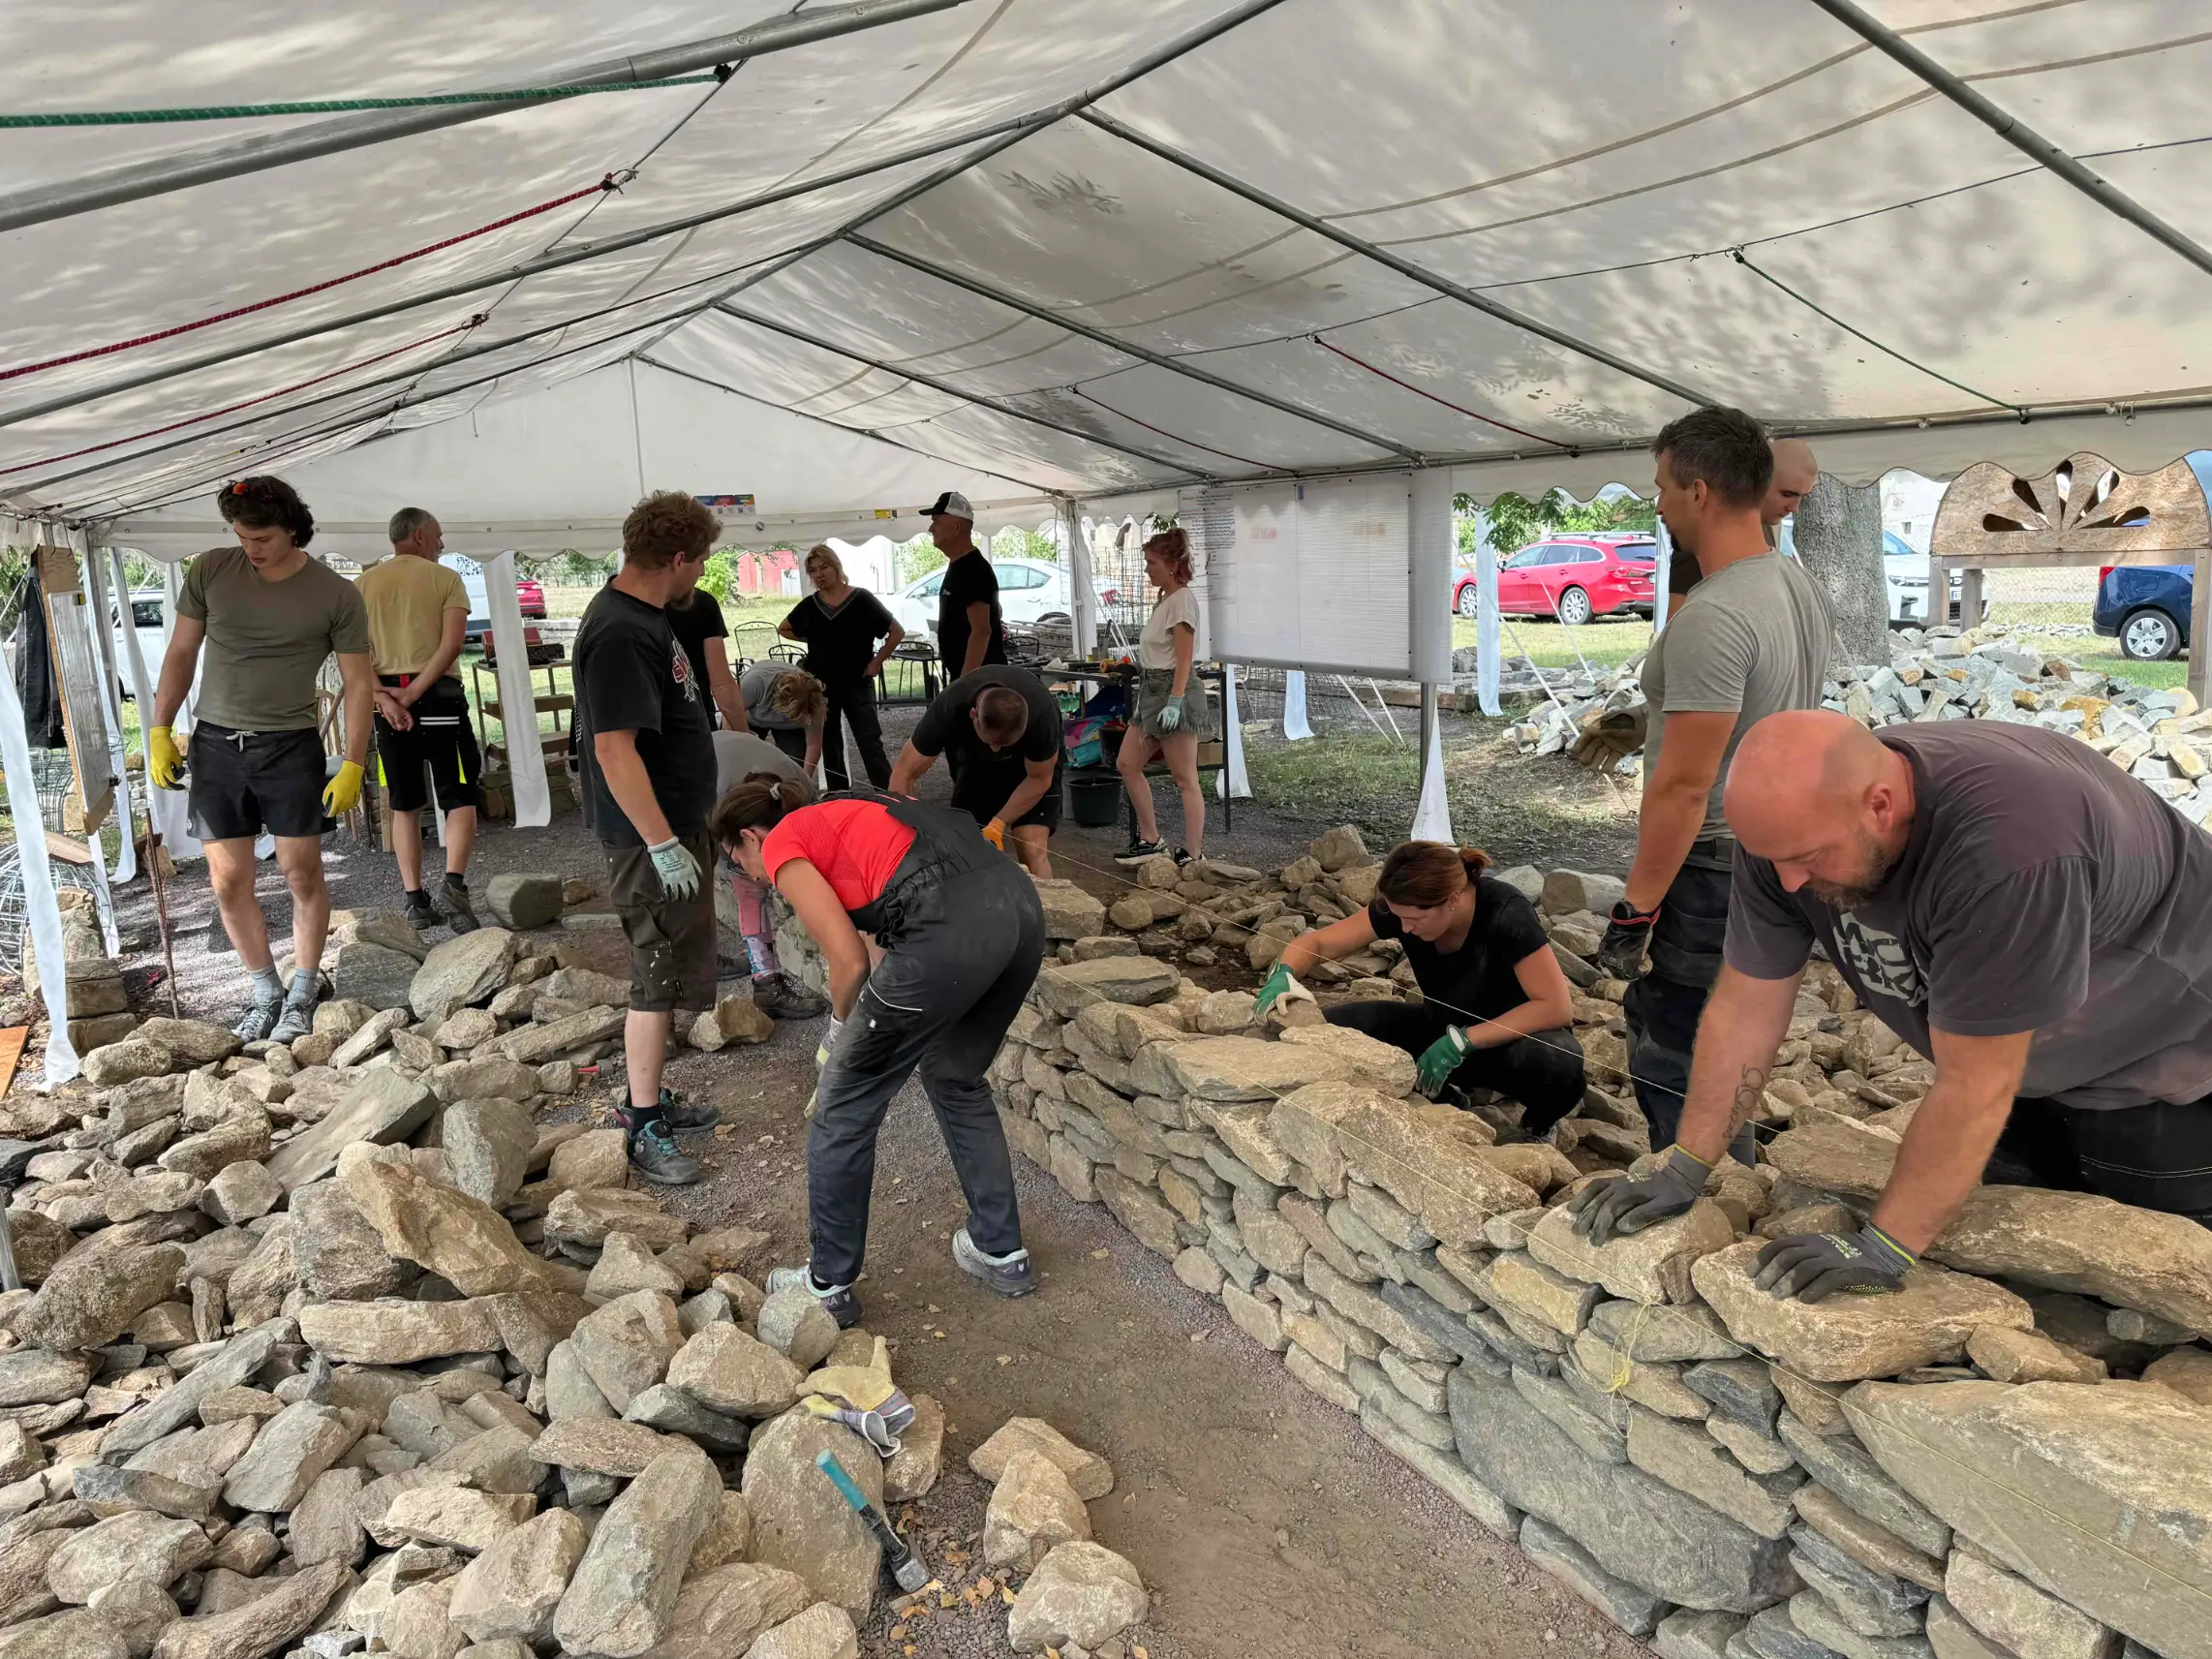
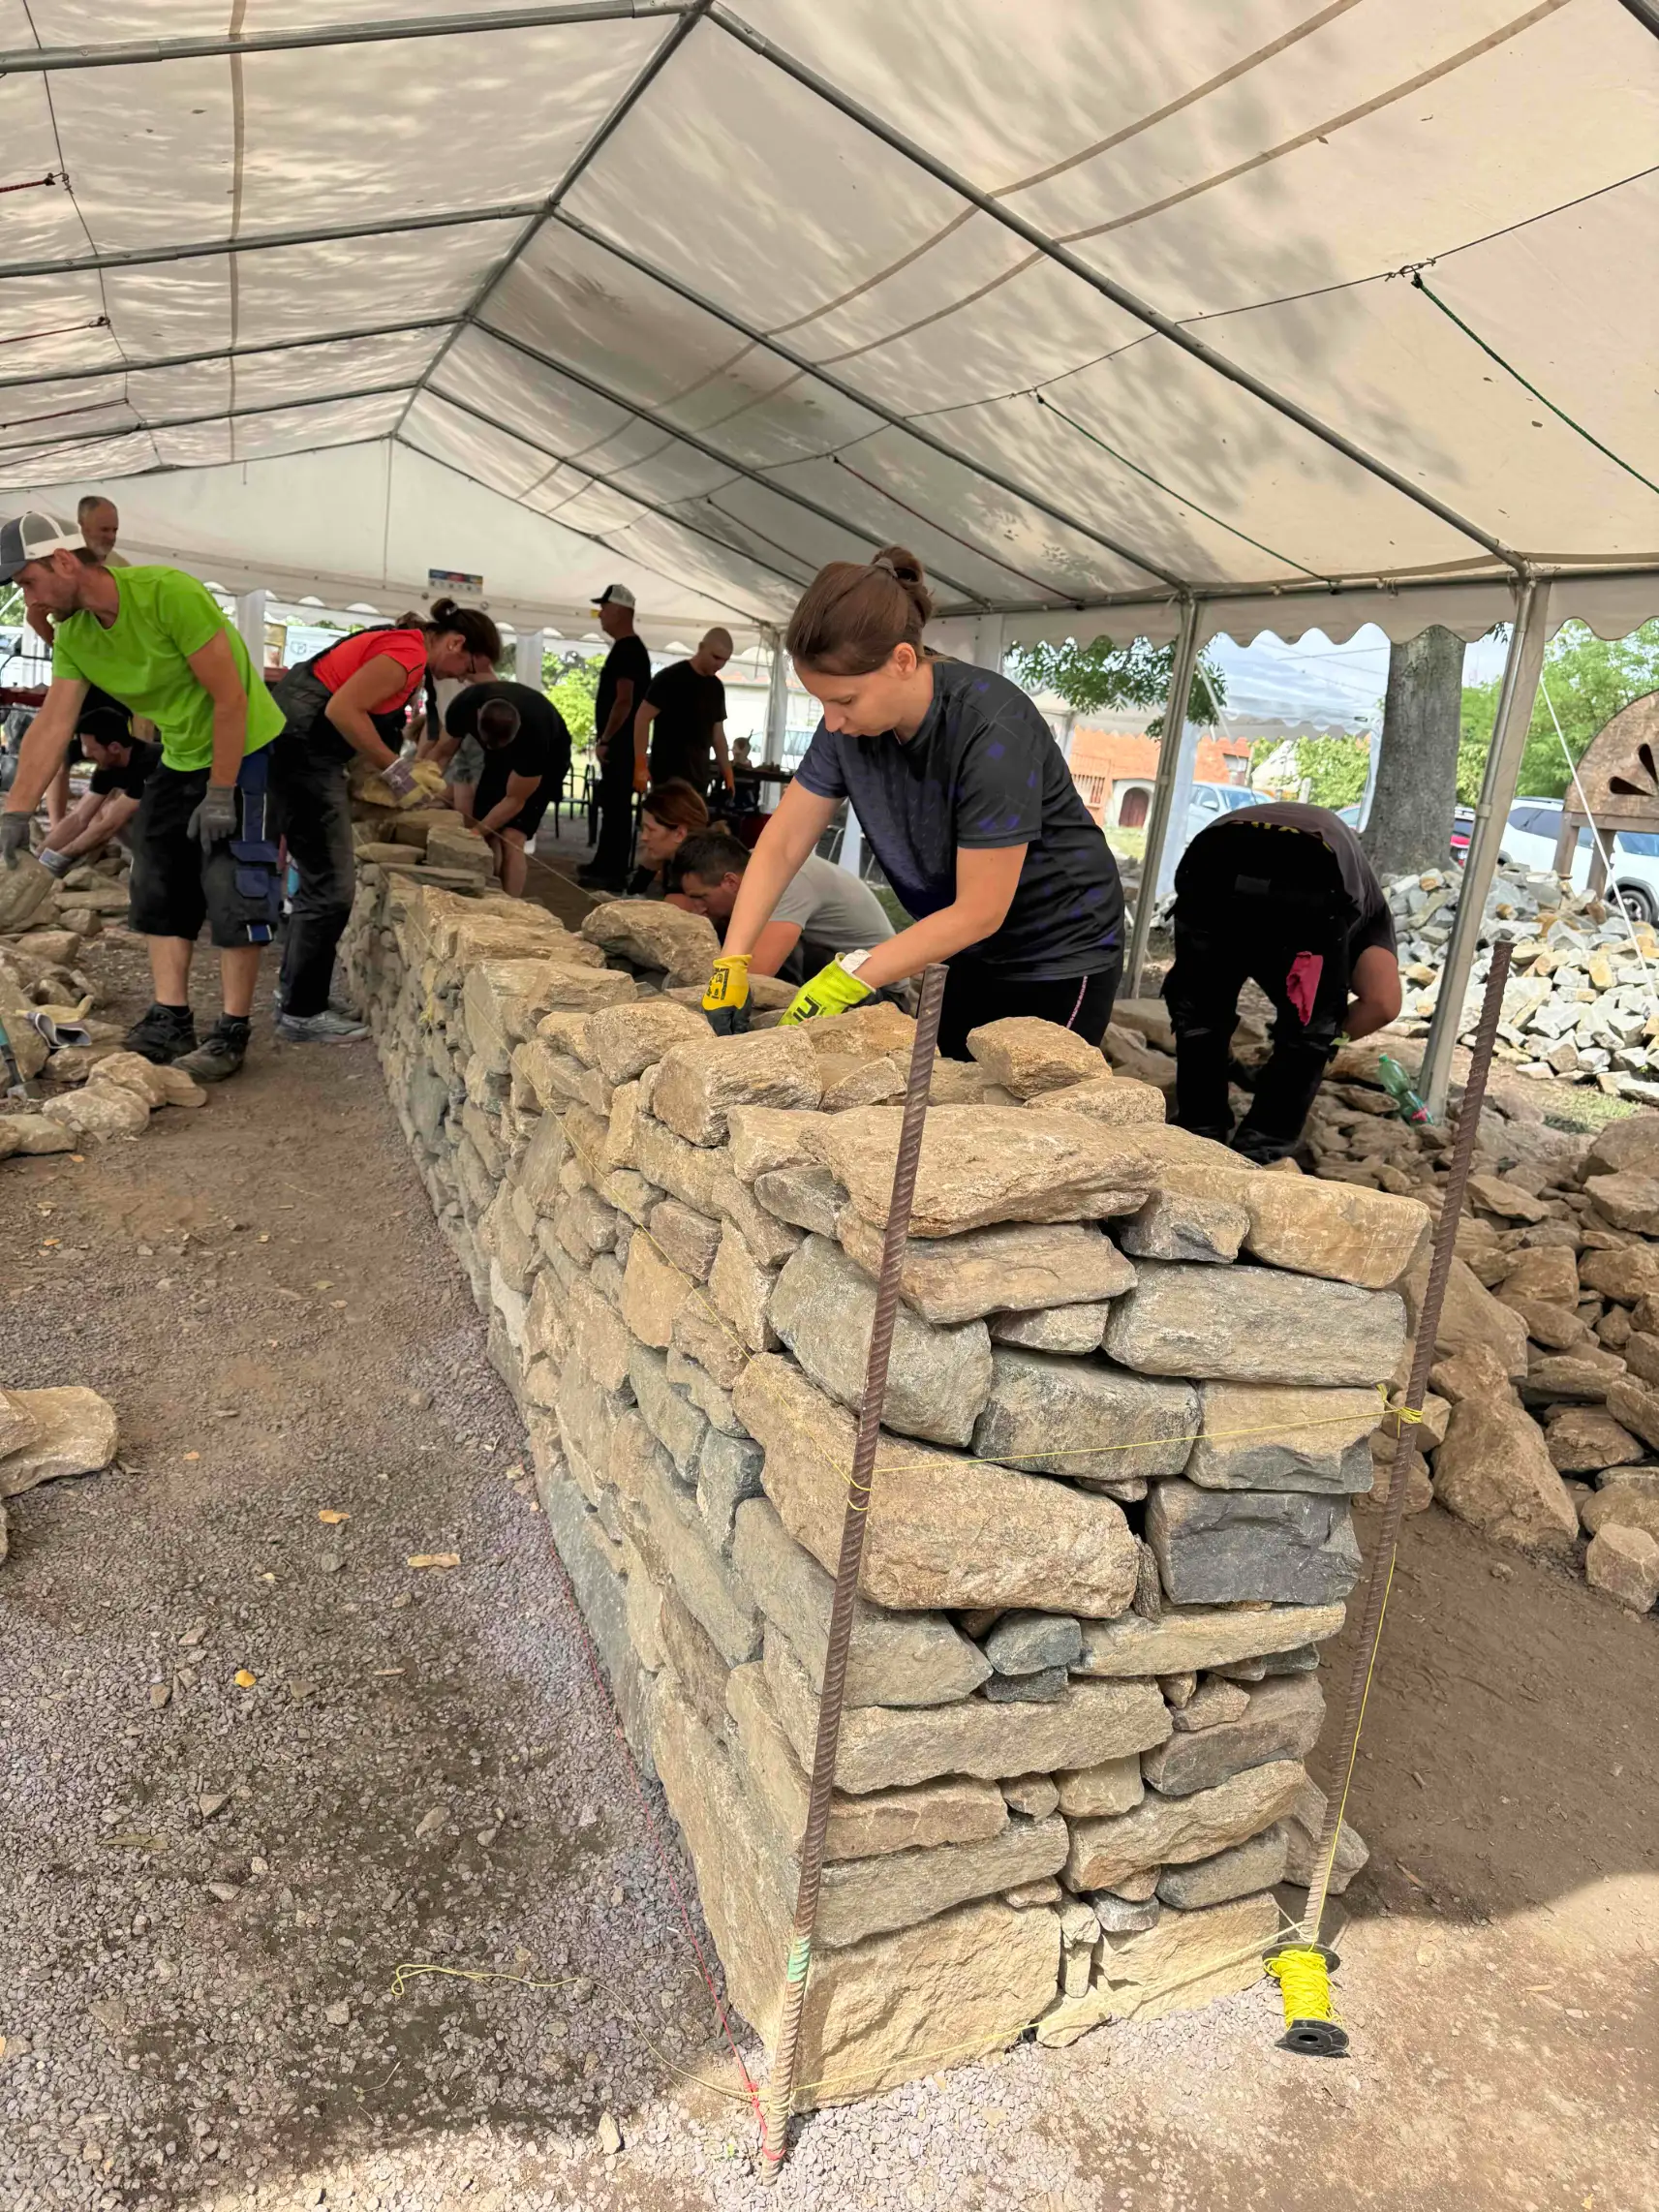
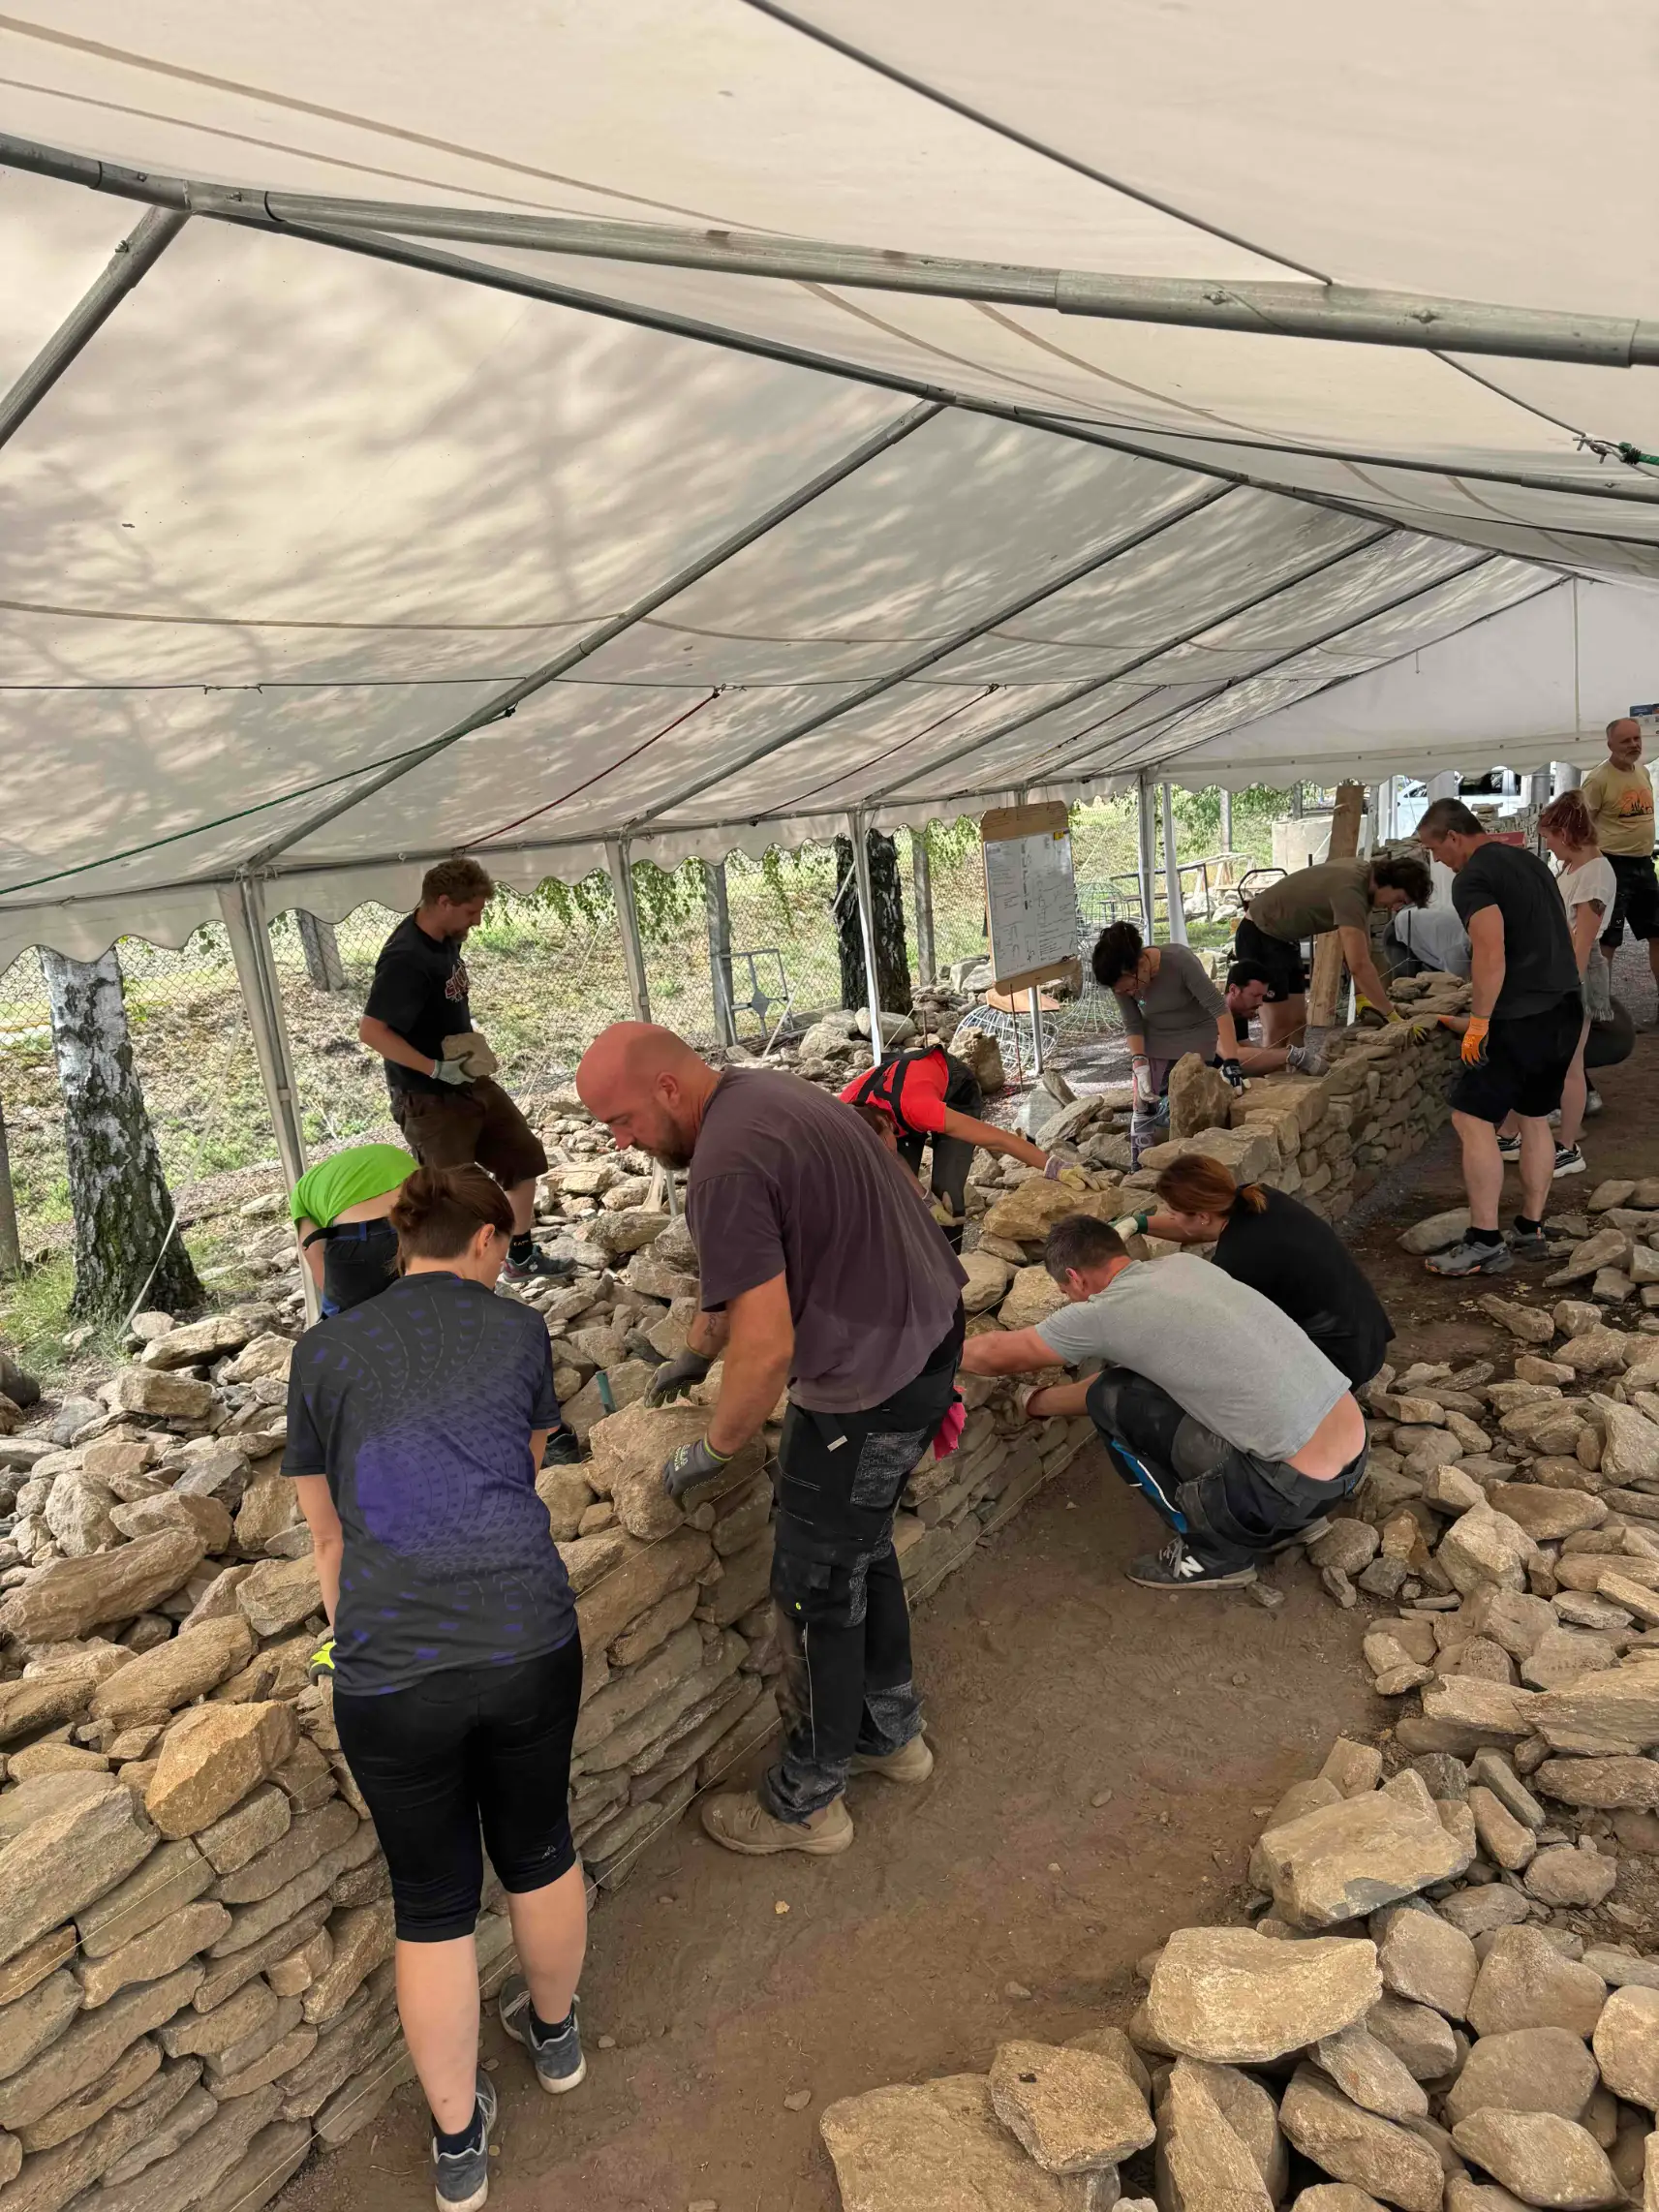
On 21 August 2026, 17 participants joined our practical dry stone walling course in Novosedly, South Moravia, Czech Republic. Many arrived with photographs, dimensions and ideas for their own projects, making this one of the most project-focused course days of the season.
The most common topic was dry stone retaining walls on sloping ground, but we also discussed traditional garden walls, lower stone walls designed for seating and ways to use natural stone that participants already had on their own properties.
| Date | 21 August 2026 |
| Location | Novosedly, South Moravia, Czech Republic |
| Participants | 17 |
| Most common personal projects | Retaining walls, garden walls and stone seating |
| Main practical focus | Working directly with irregular natural stone |
Seventeen Participants, Seventeen Different Stone Wall Projects
The variety of projects brought by participants was one of the most useful parts of this course. The fundamental principles of a correctly built dry stone wall remain similar, but the way they are applied changes according to terrain, available stone, wall function and the conditions behind the structure.
One person may simply want to divide two parts of a garden. Another may be planning a low wall beside a seating area. Others need a genuine retaining wall capable of supporting soil on a slope.
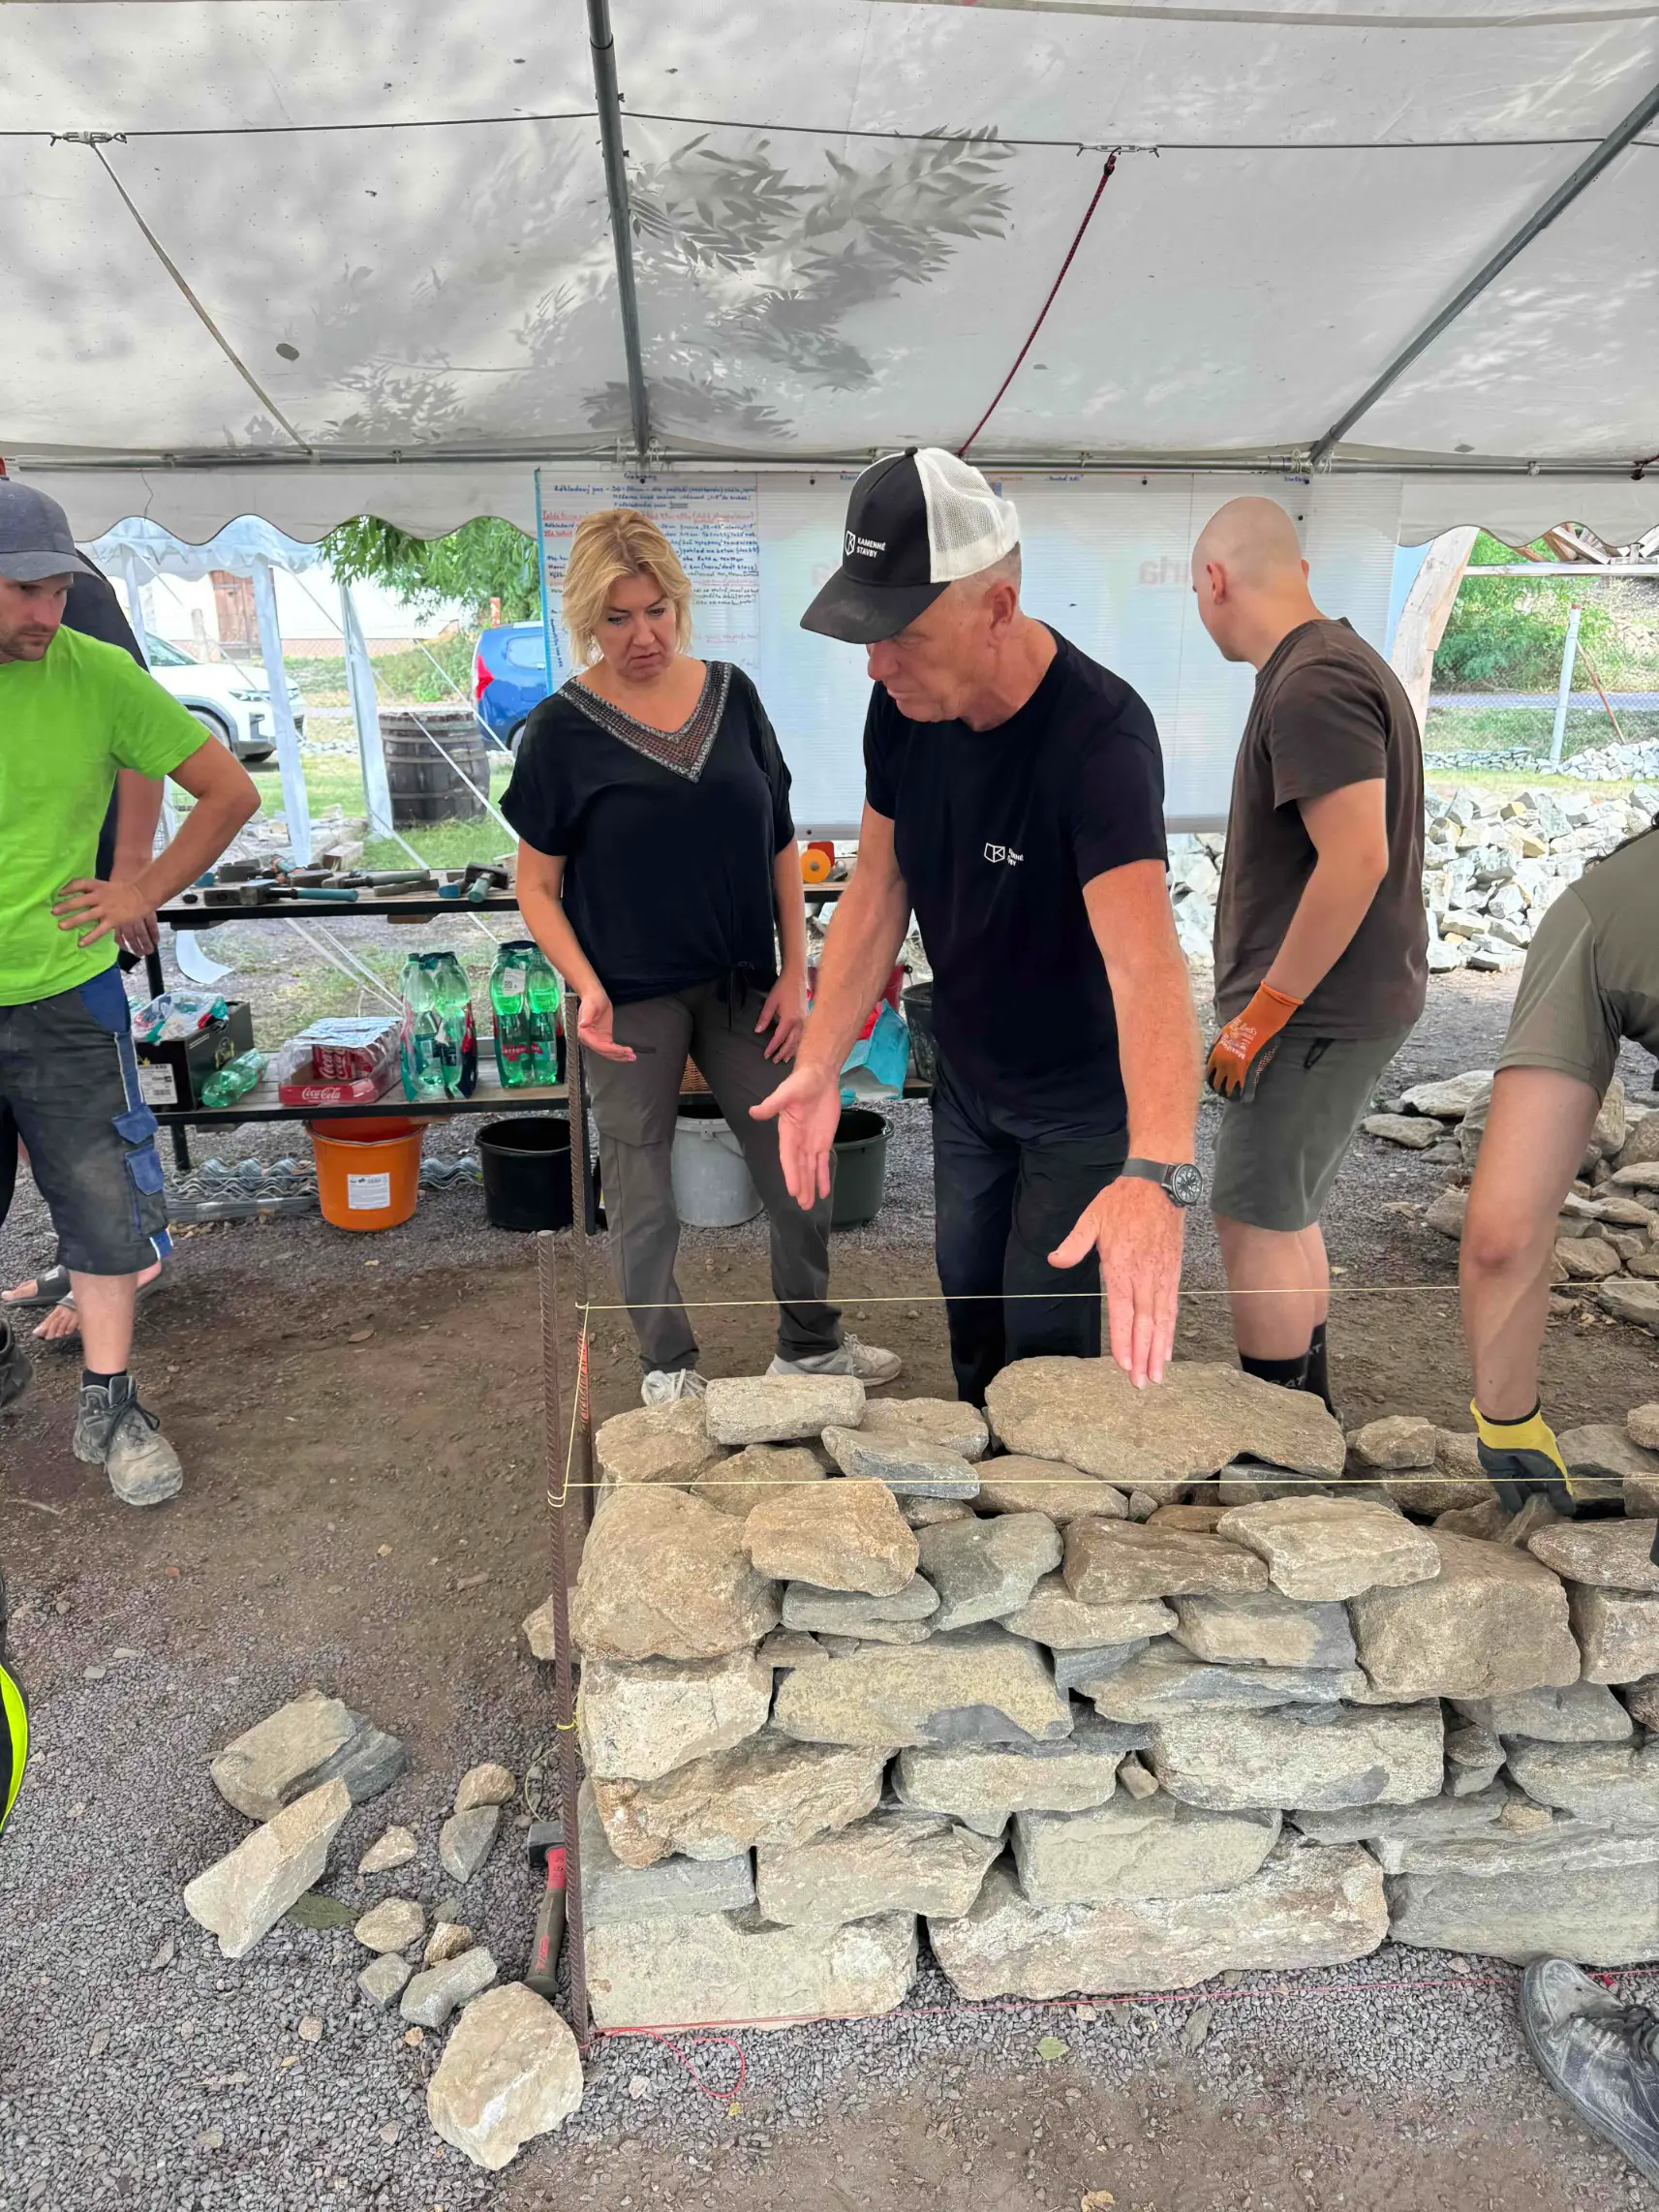
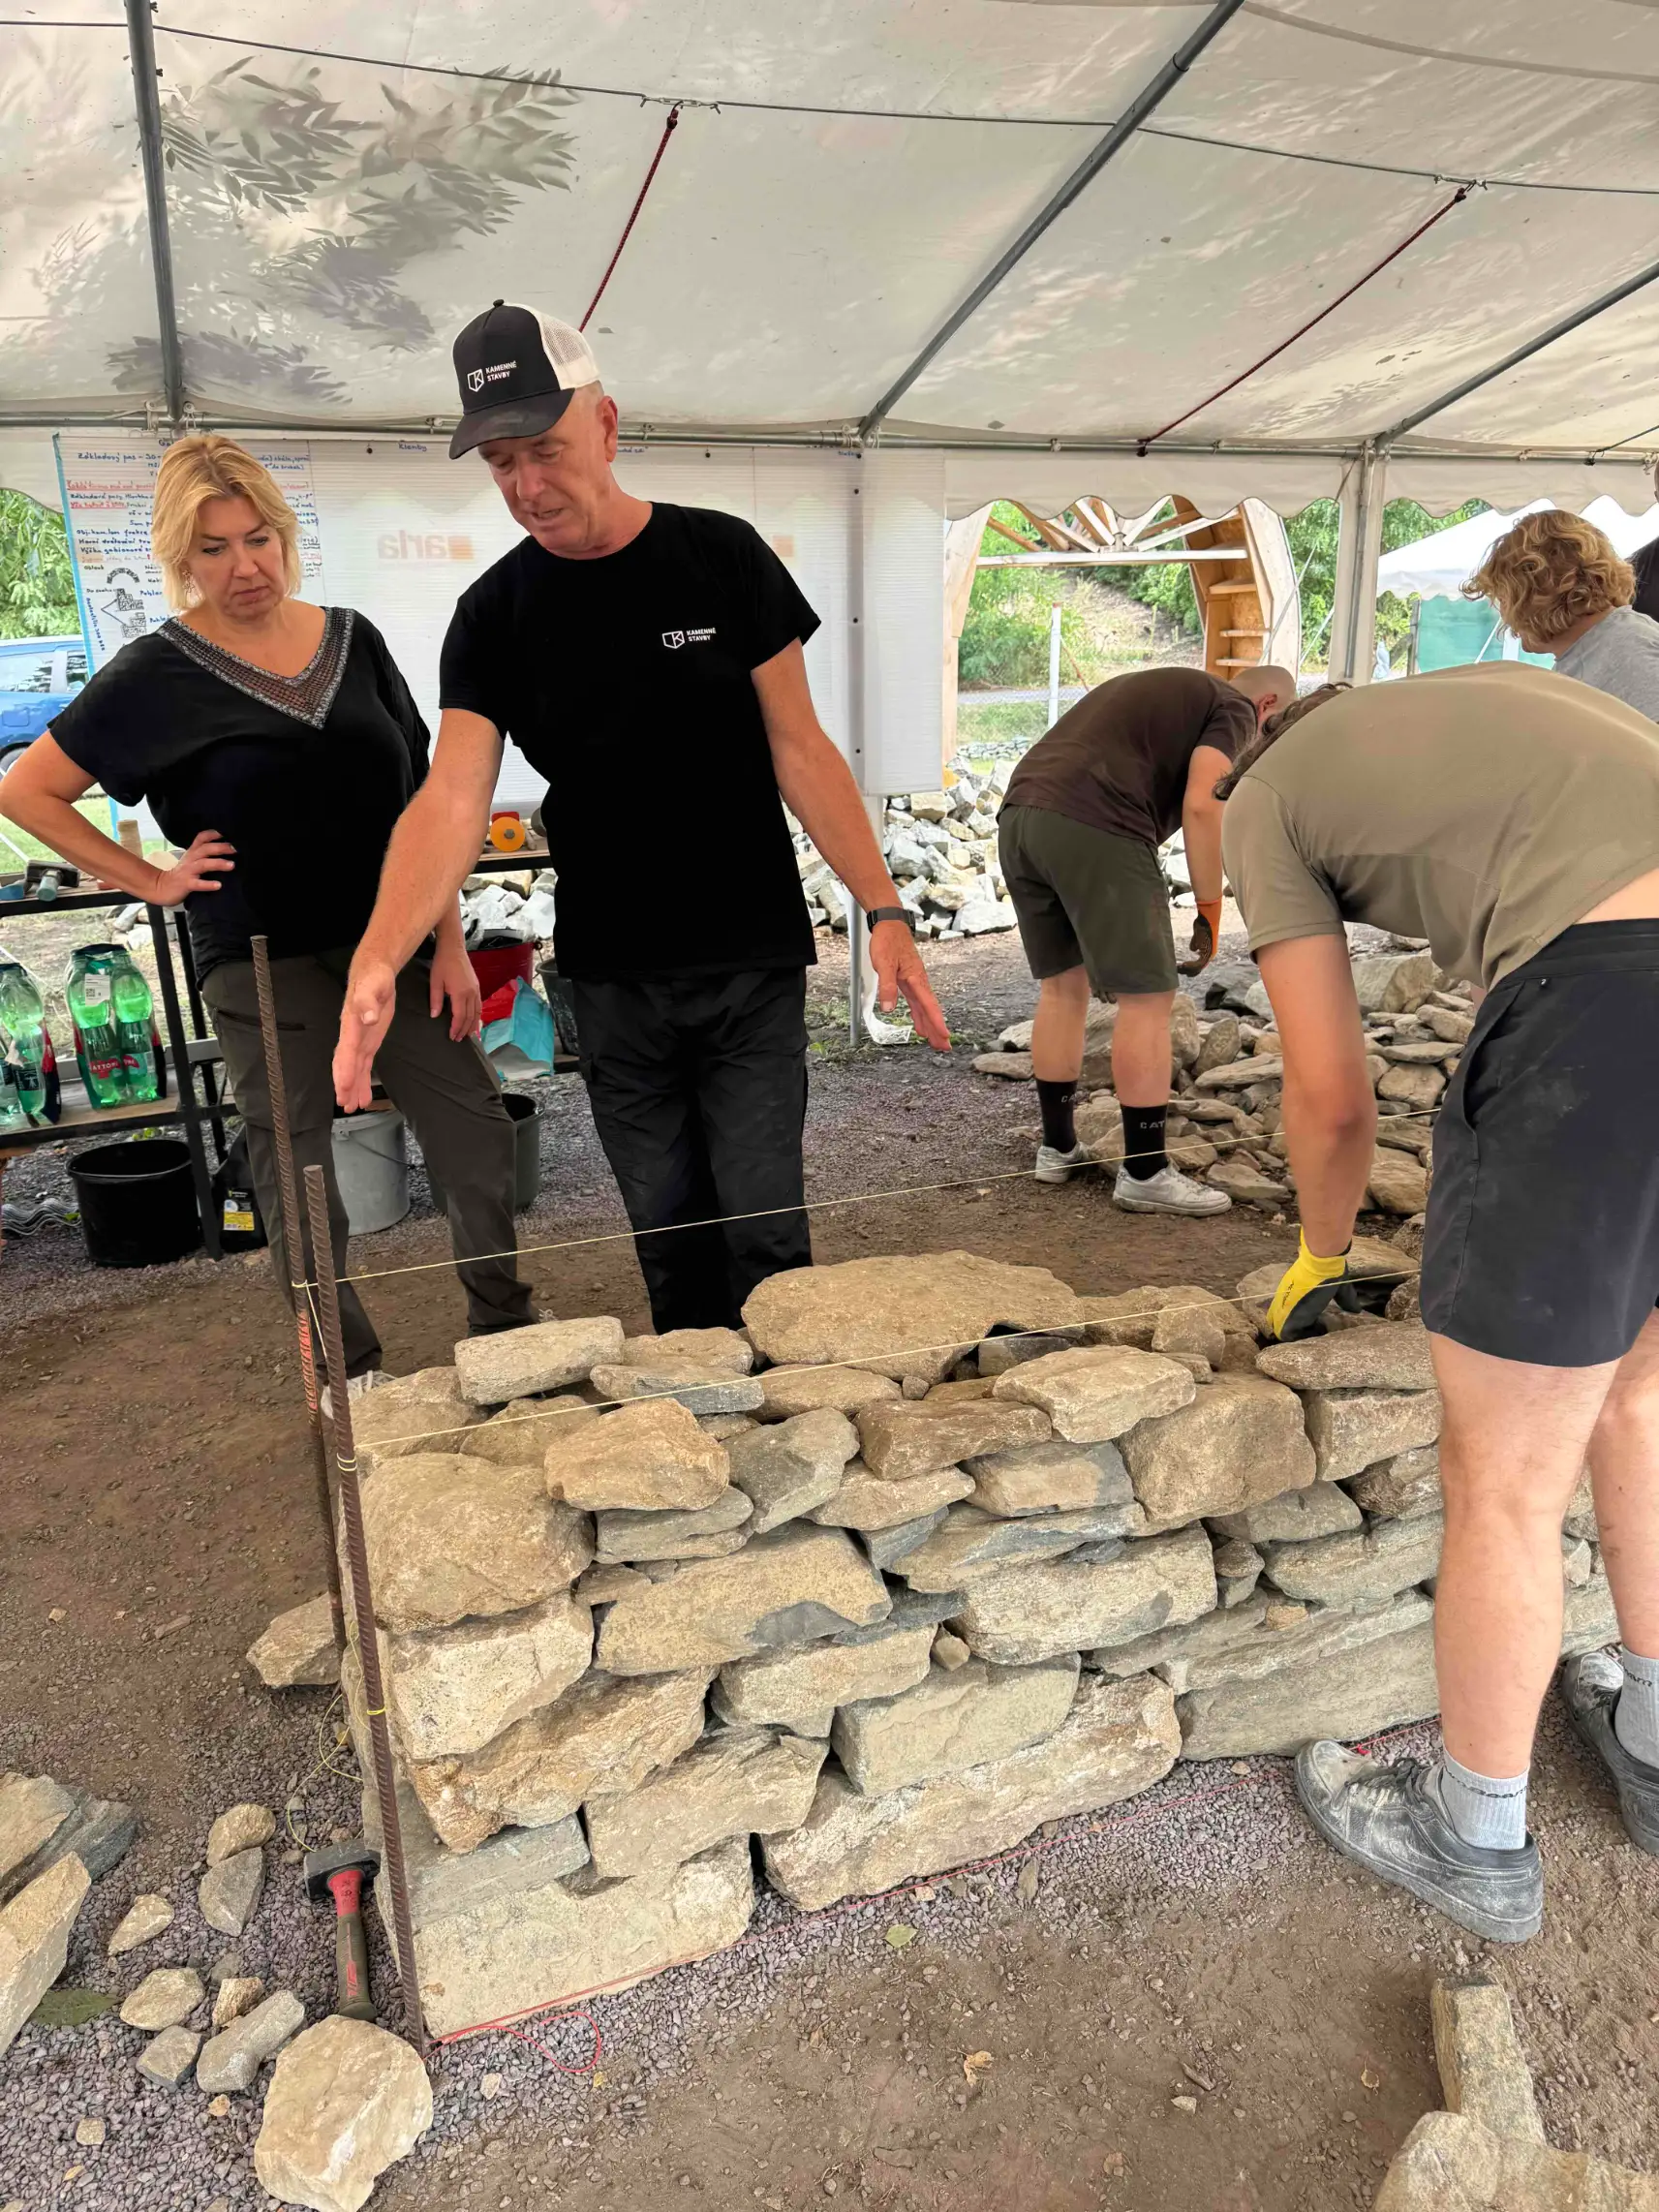
A Retaining Wall Begins before the First Stone Is Laid
Because many participants were planning retaining walls, we repeatedly returned to one important point: construction does not begin by choosing the most attractive stones.
First, the site itself has to be understood. What is the terrain like? What will the wall actually retain? What type of soil is present? Where will water come from? What is located above the wall? And what will support the first course?
Preparation often determines whether everything that follows will work properly. A retaining structure therefore cannot be considered only according to its visible height.
For larger, heavily loaded or technically demanding retaining walls, the situation may require individual structural assessment rather than relying only on general course principles.
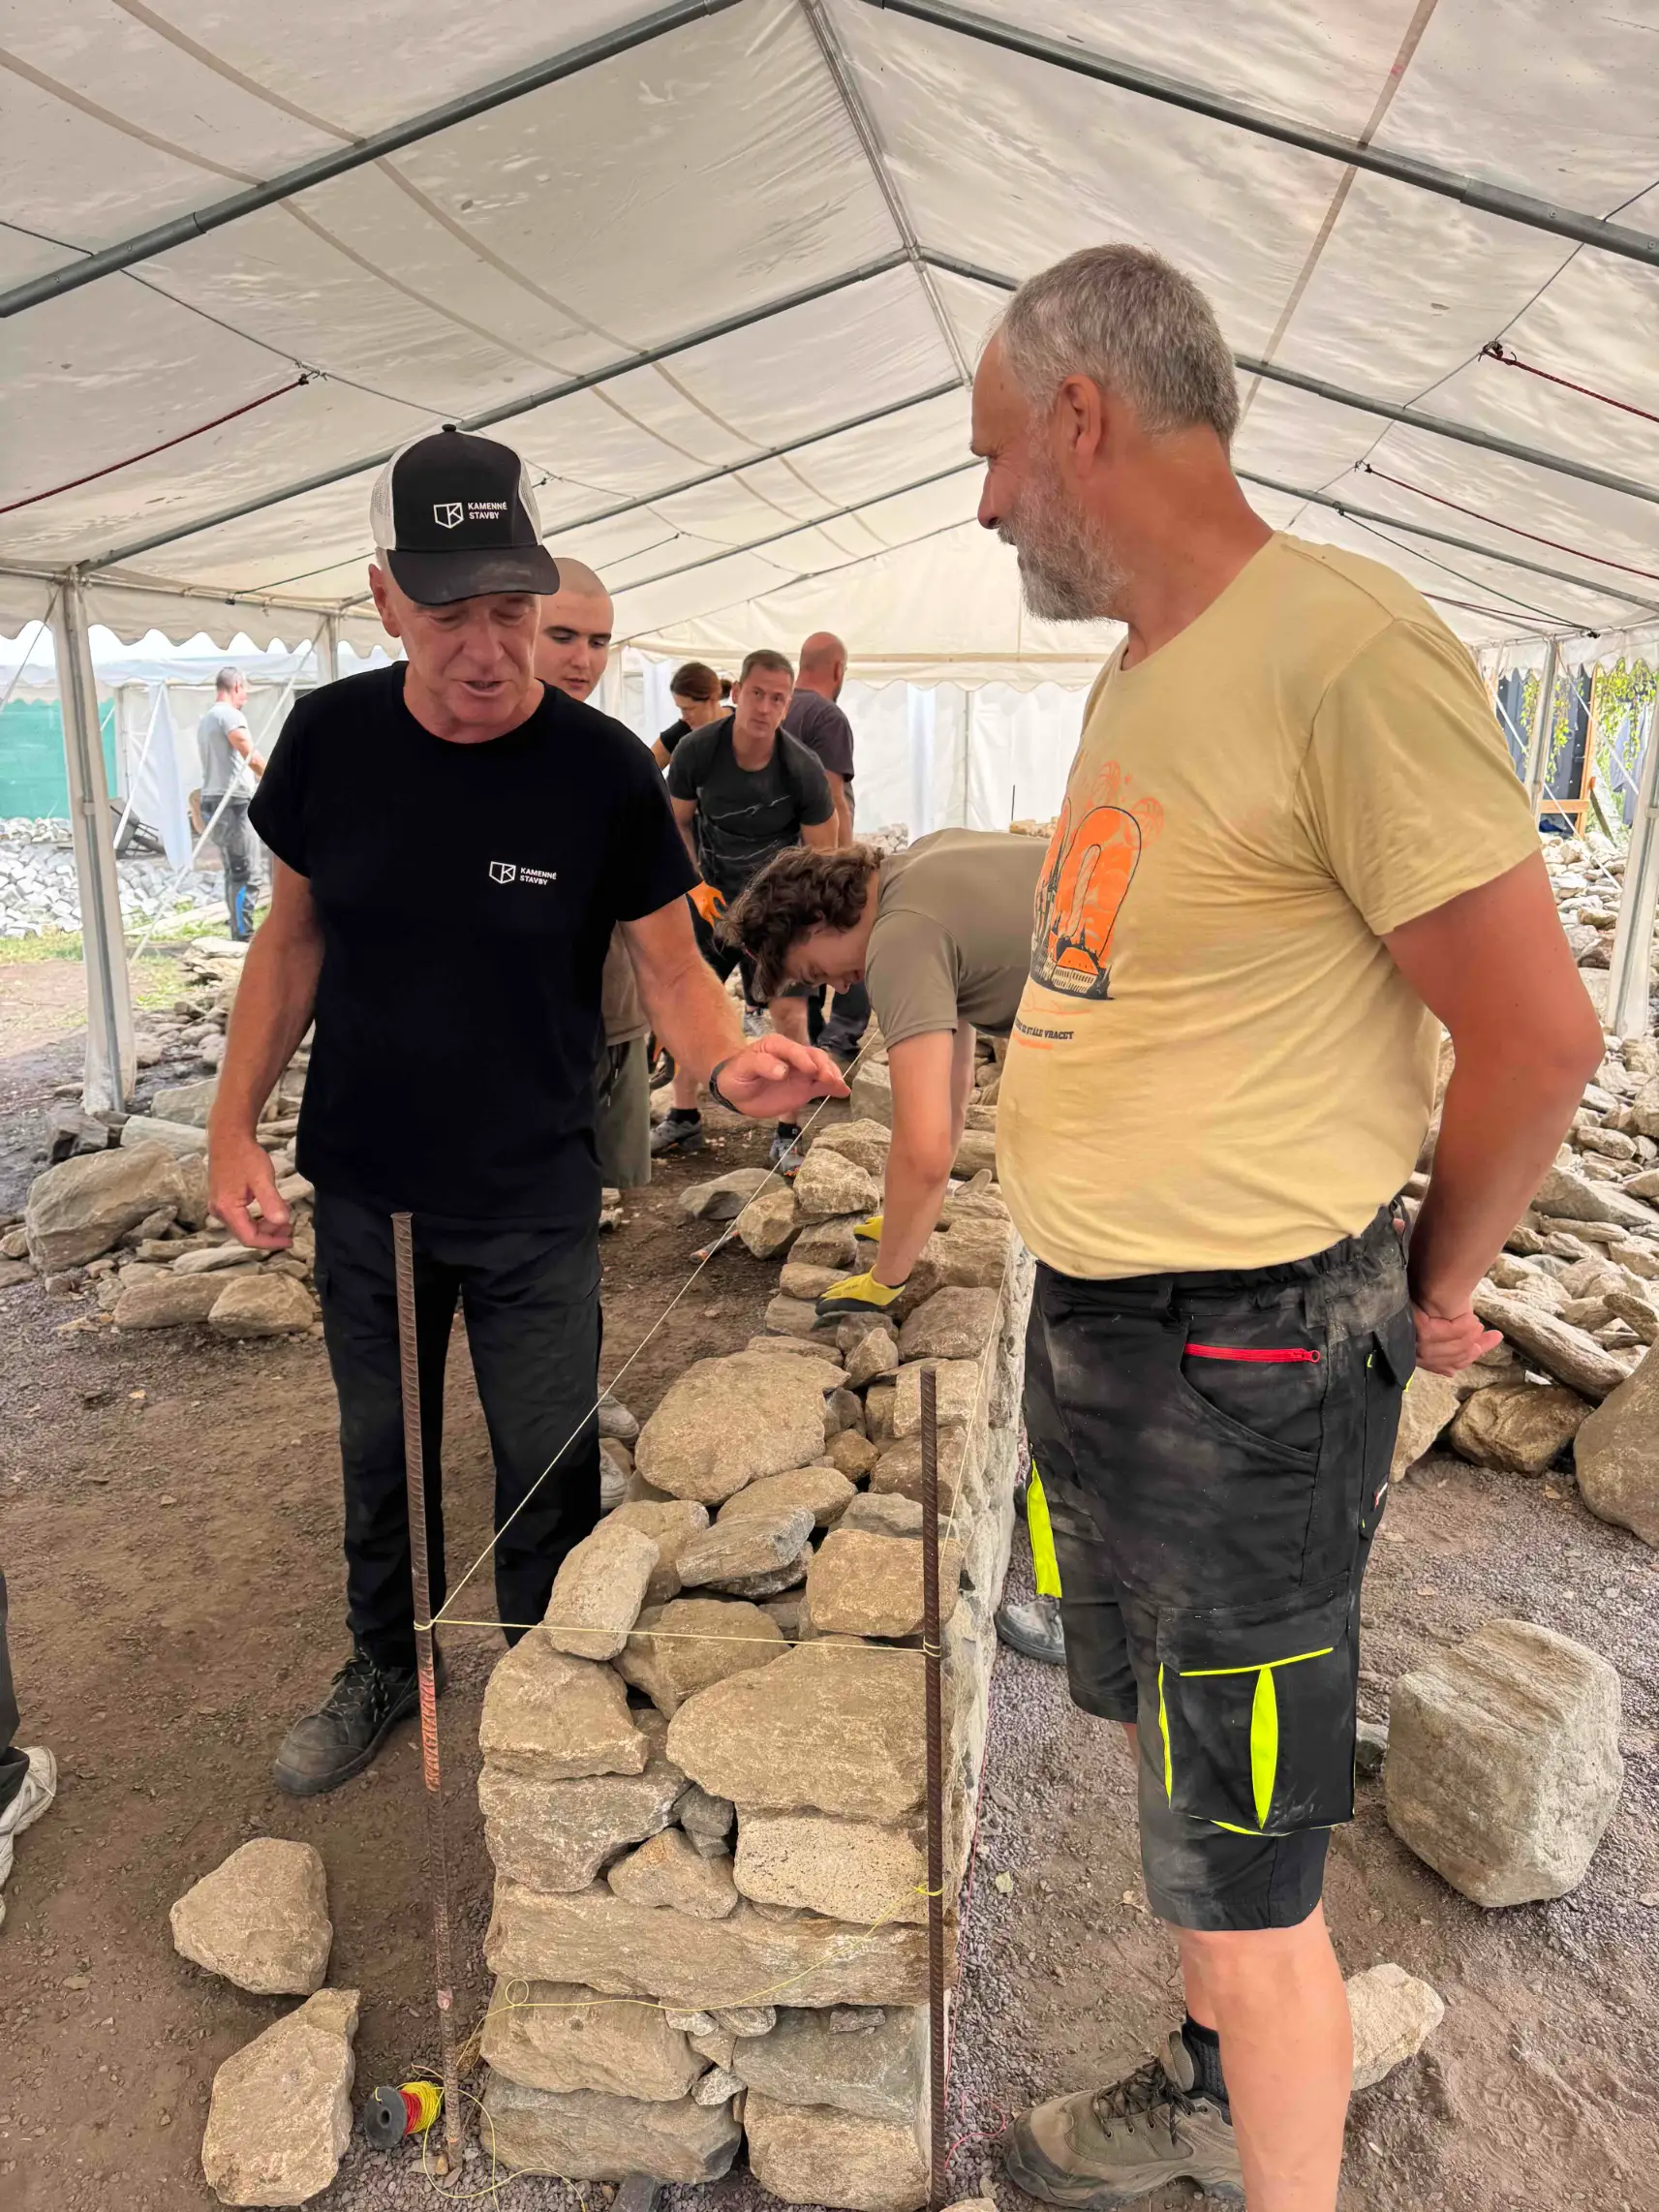
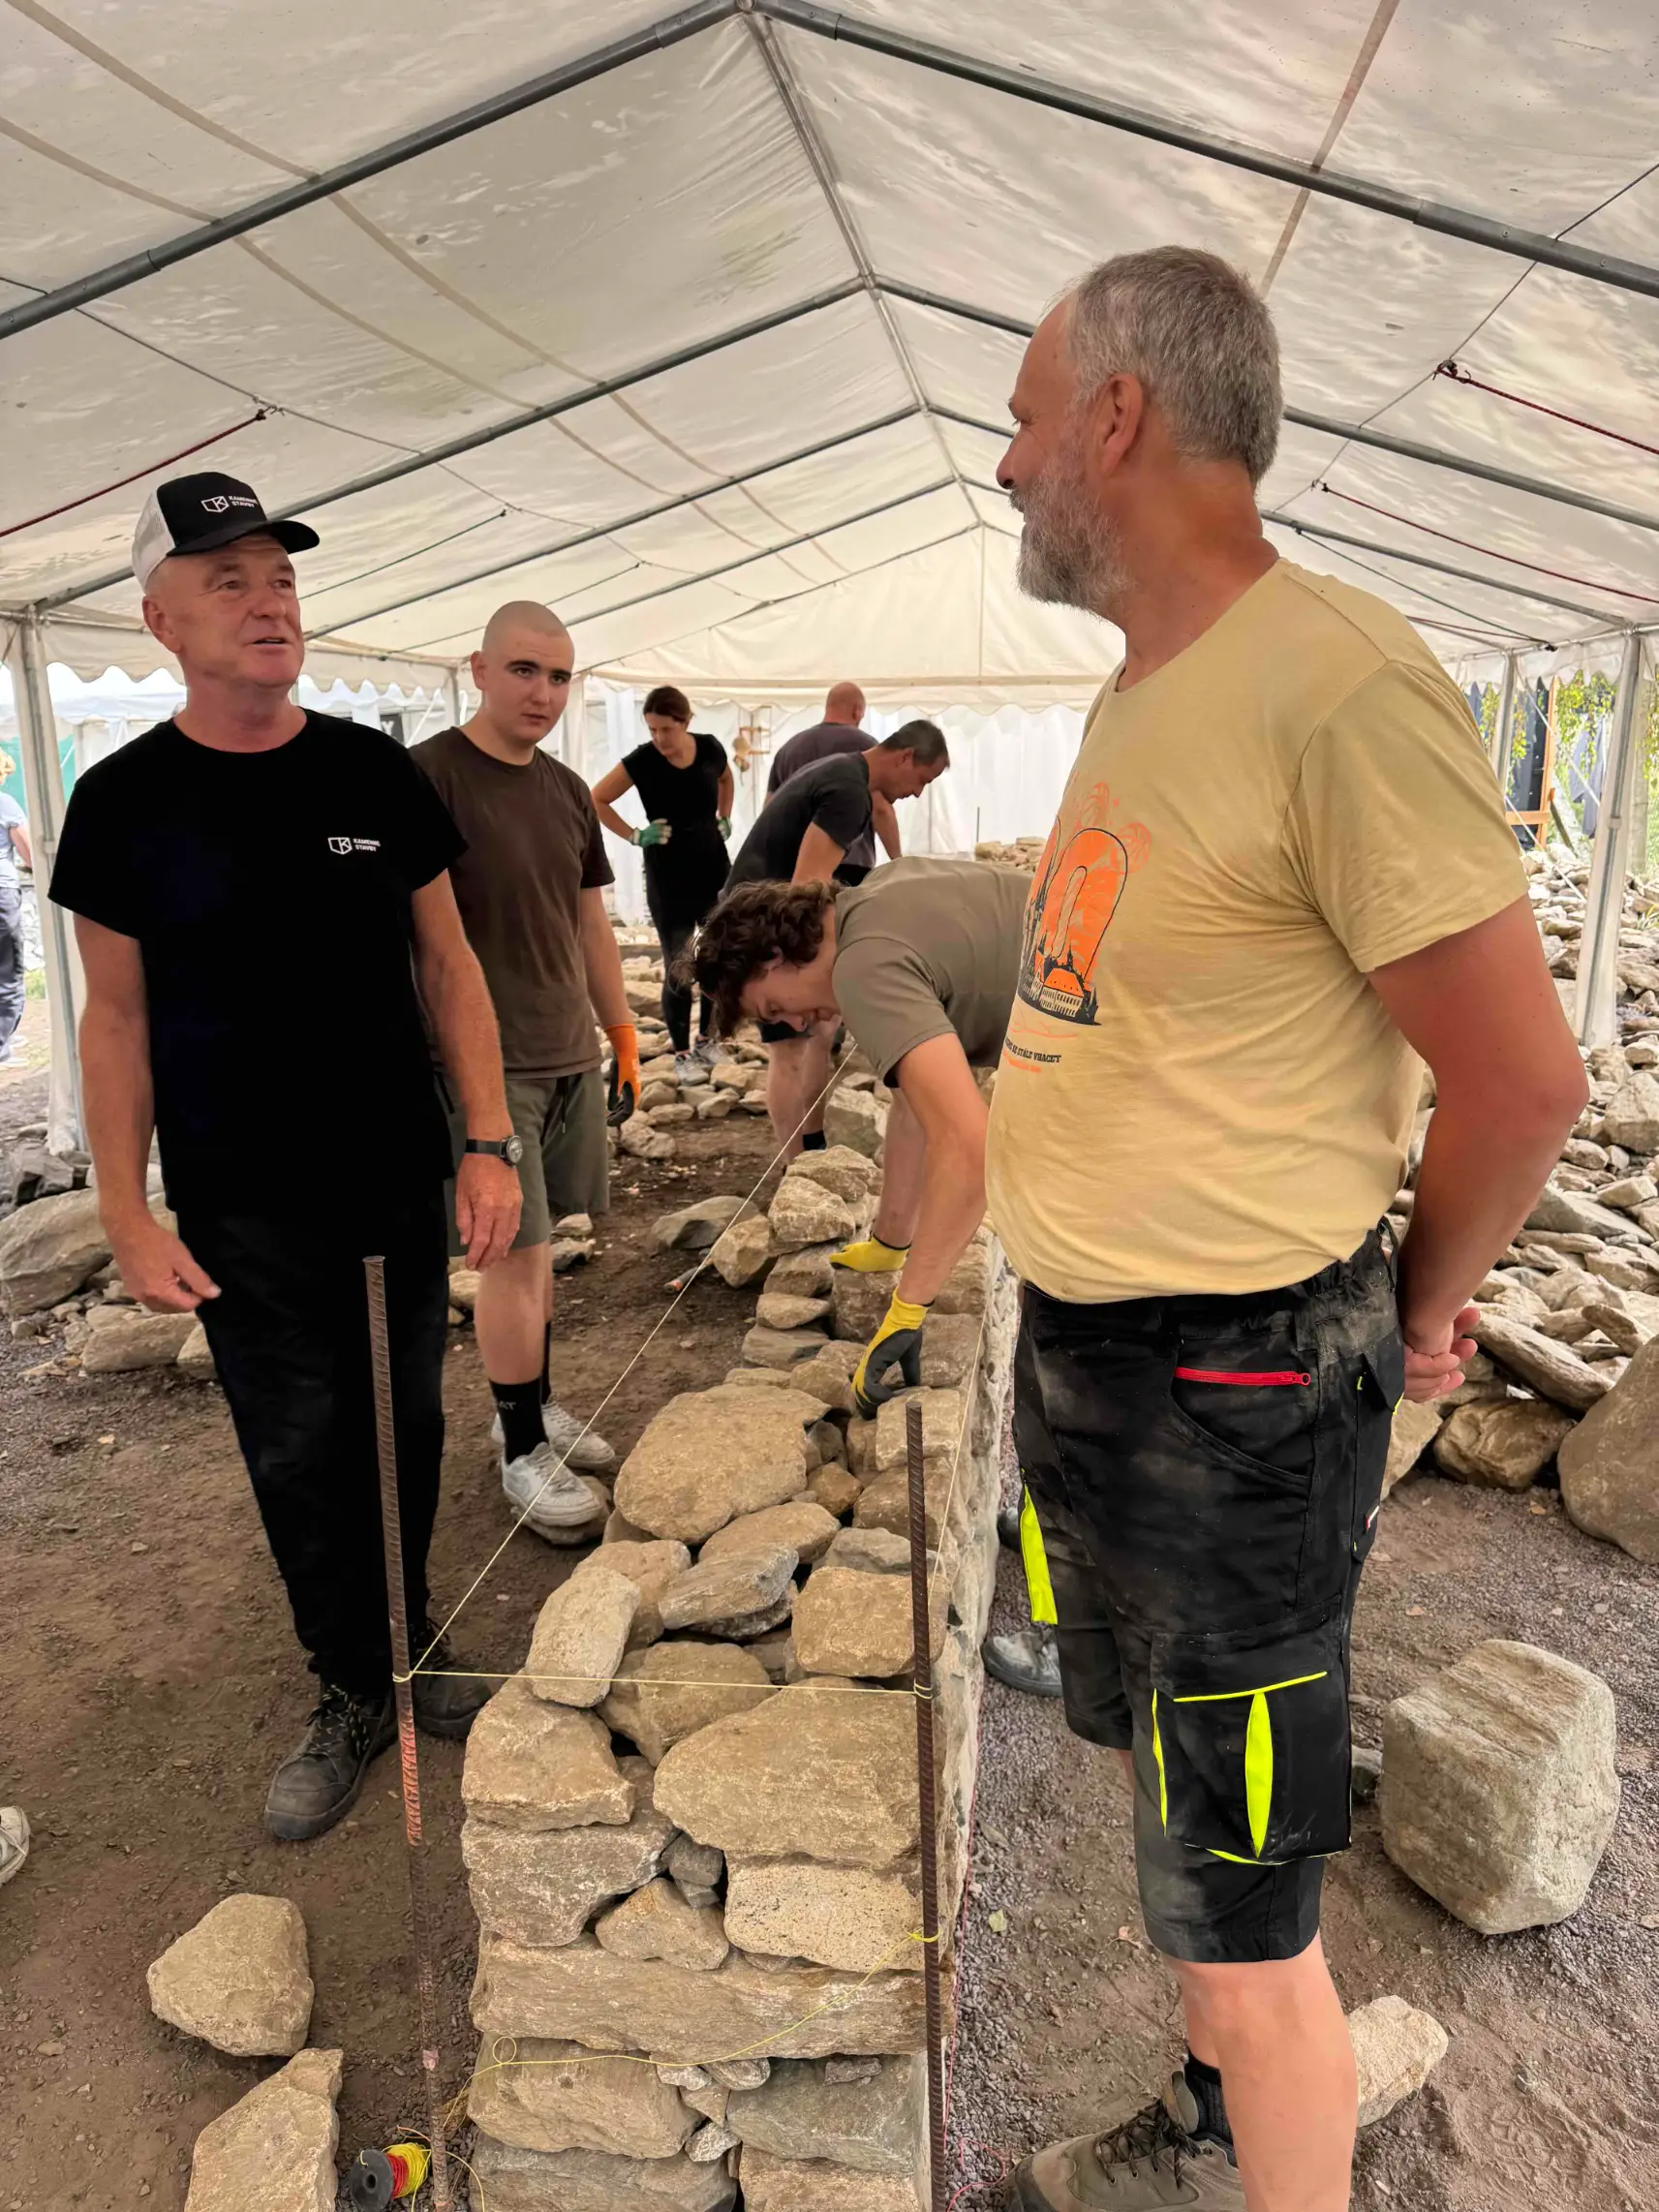
How Stone Is Positioned so It Works within the Wall
Once the site and foundation are prepared, the masonry itself begins. This is where a single universal diagram is no longer enough, because practically every natural stone has a different shape.
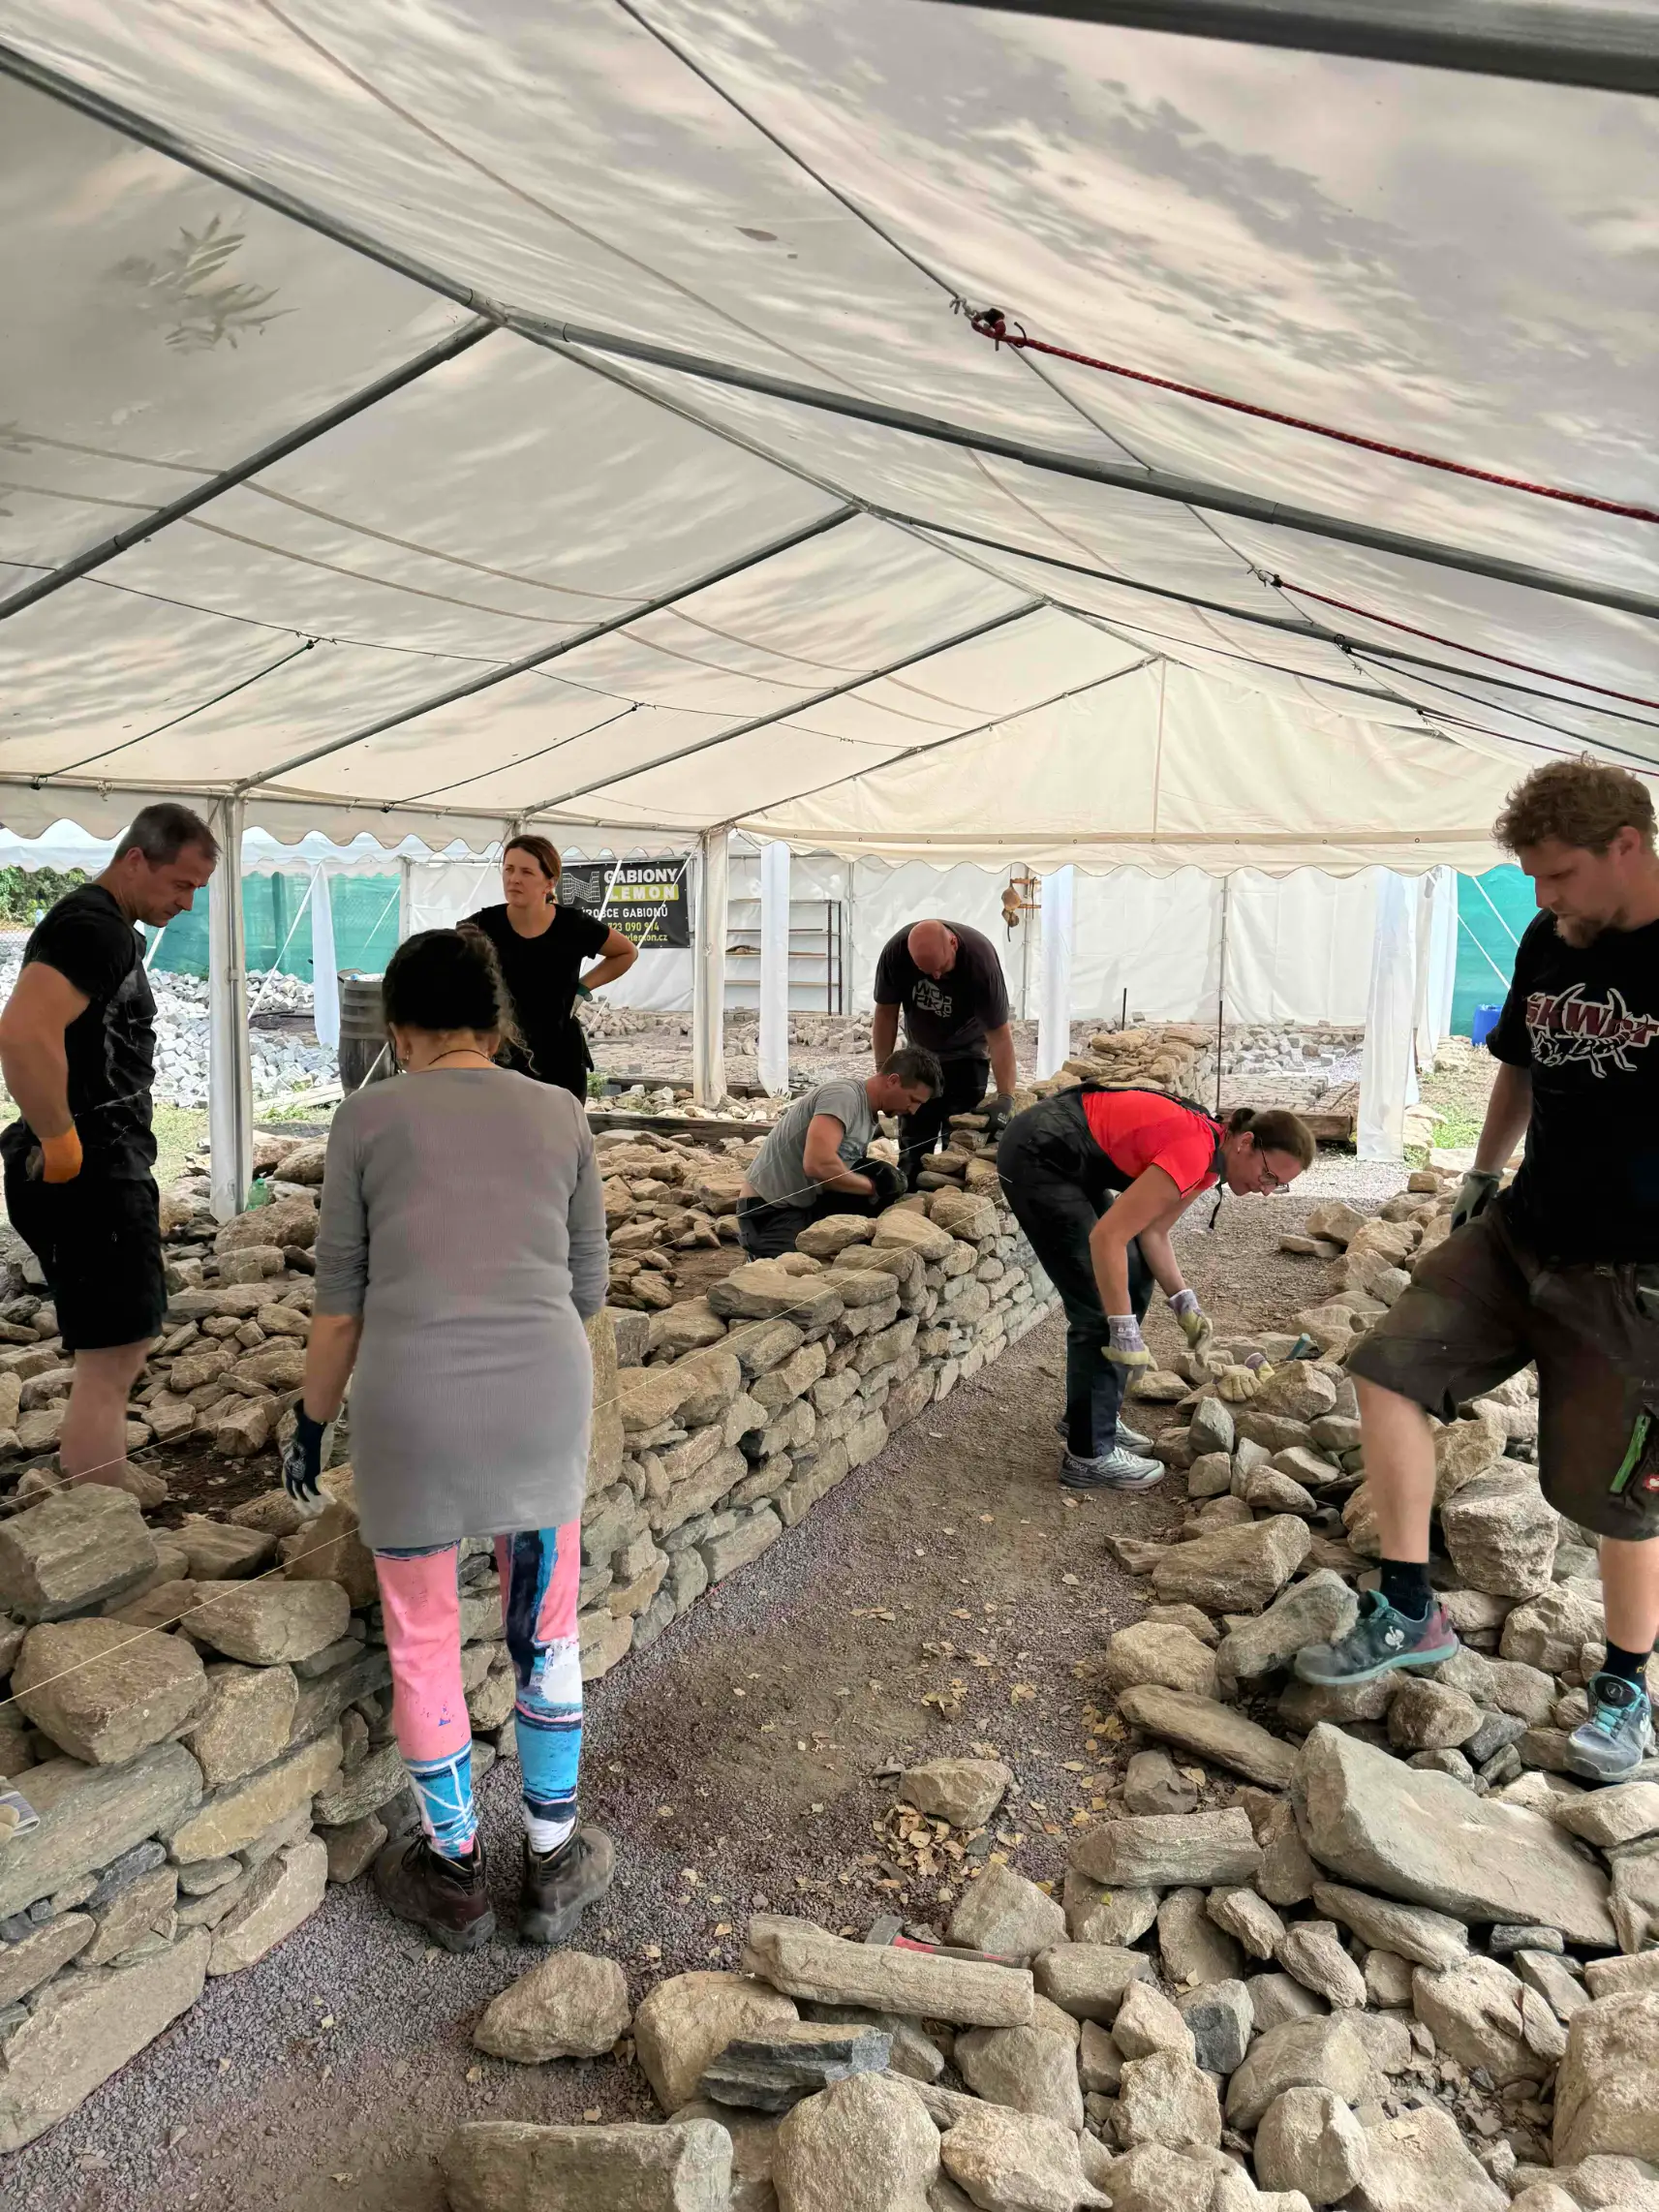
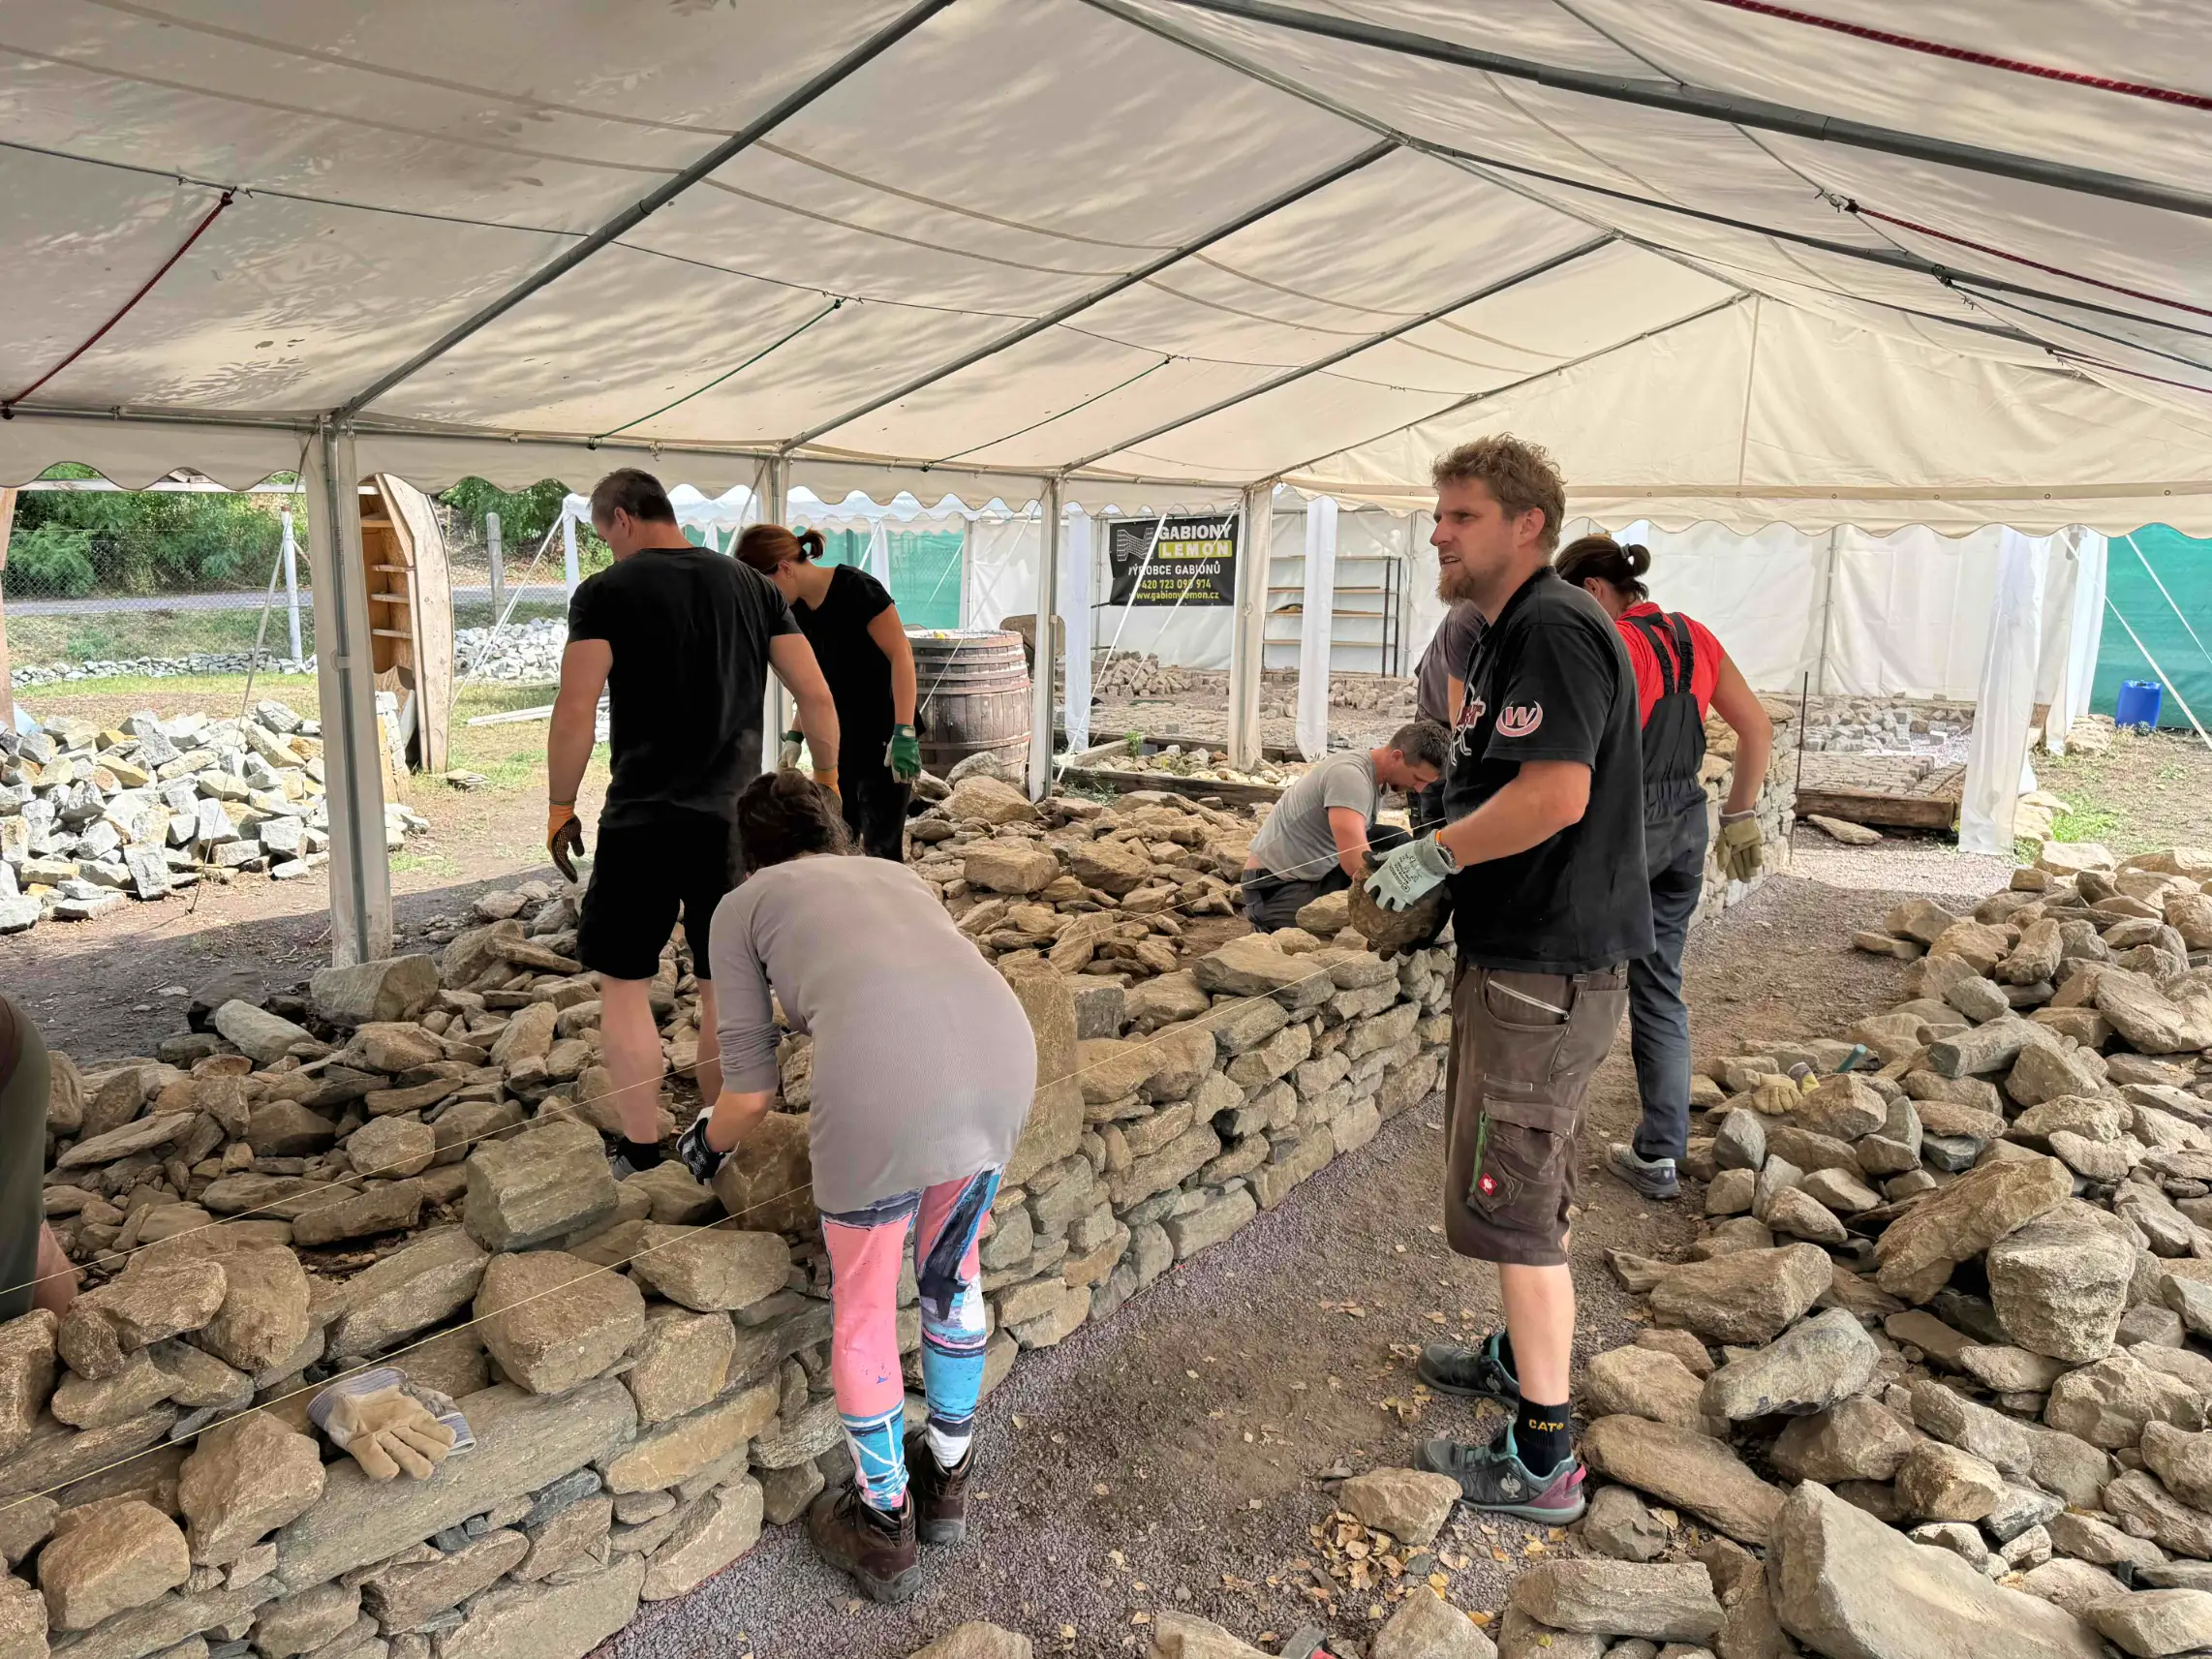
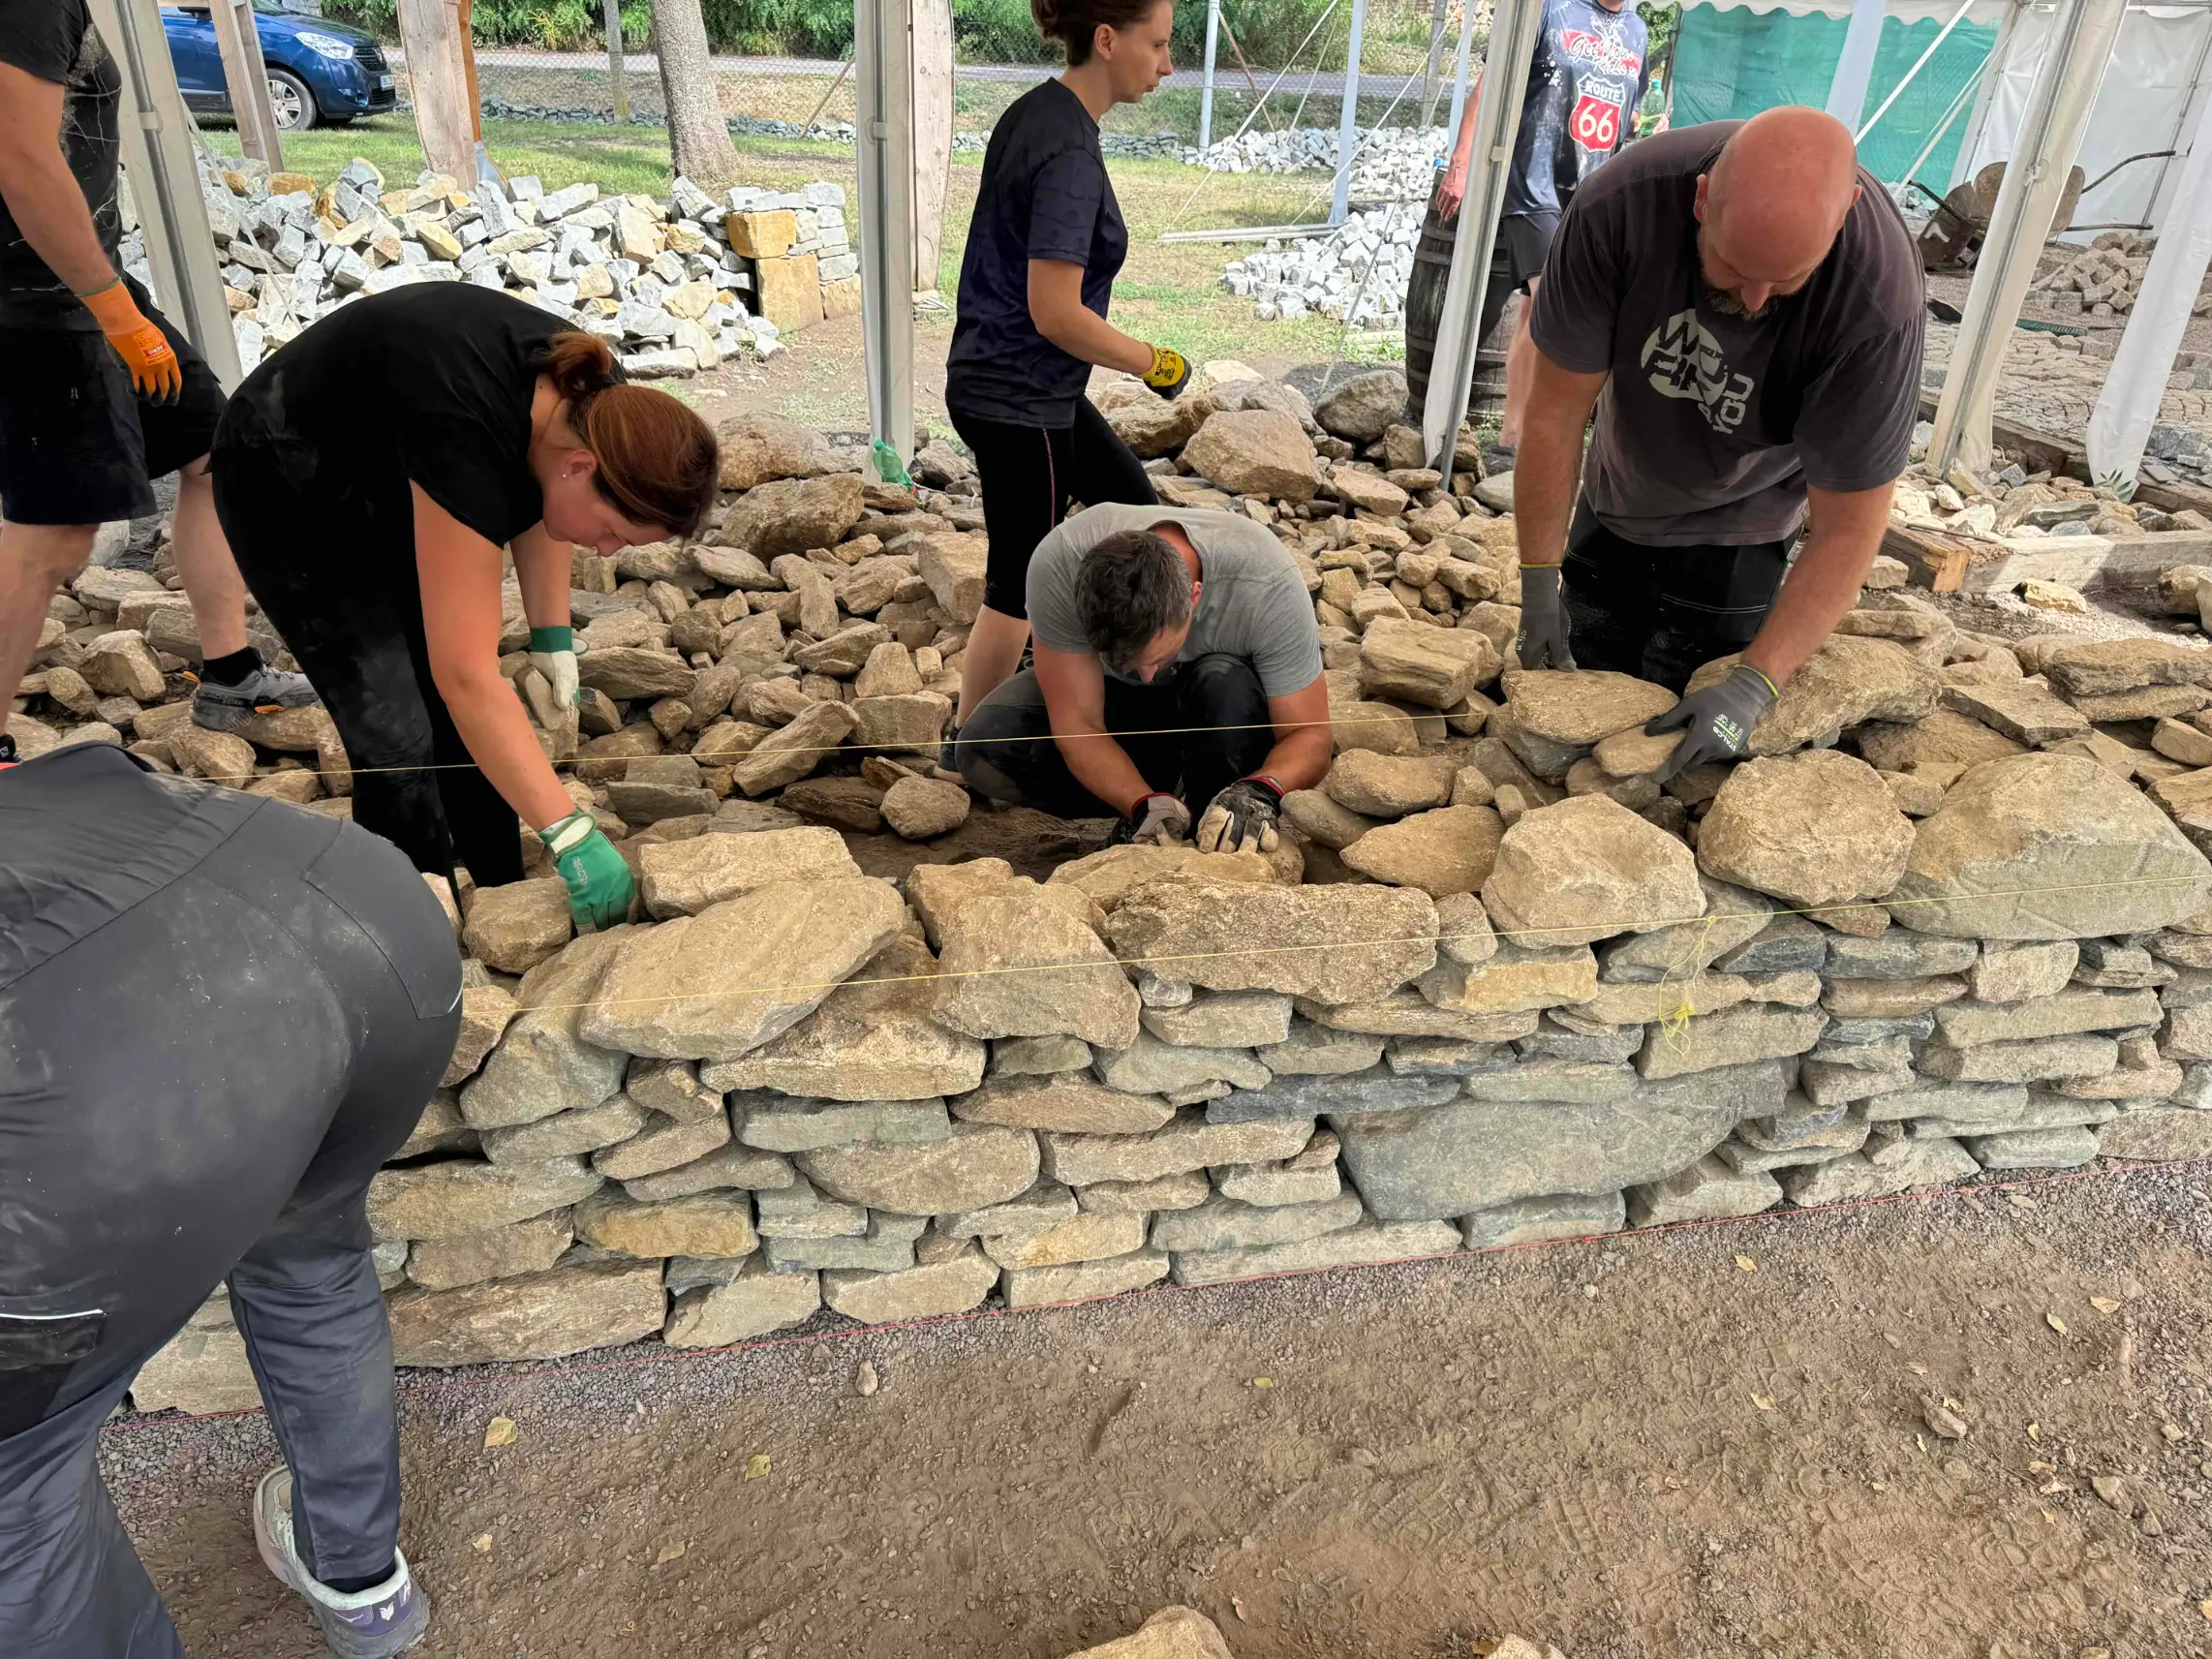
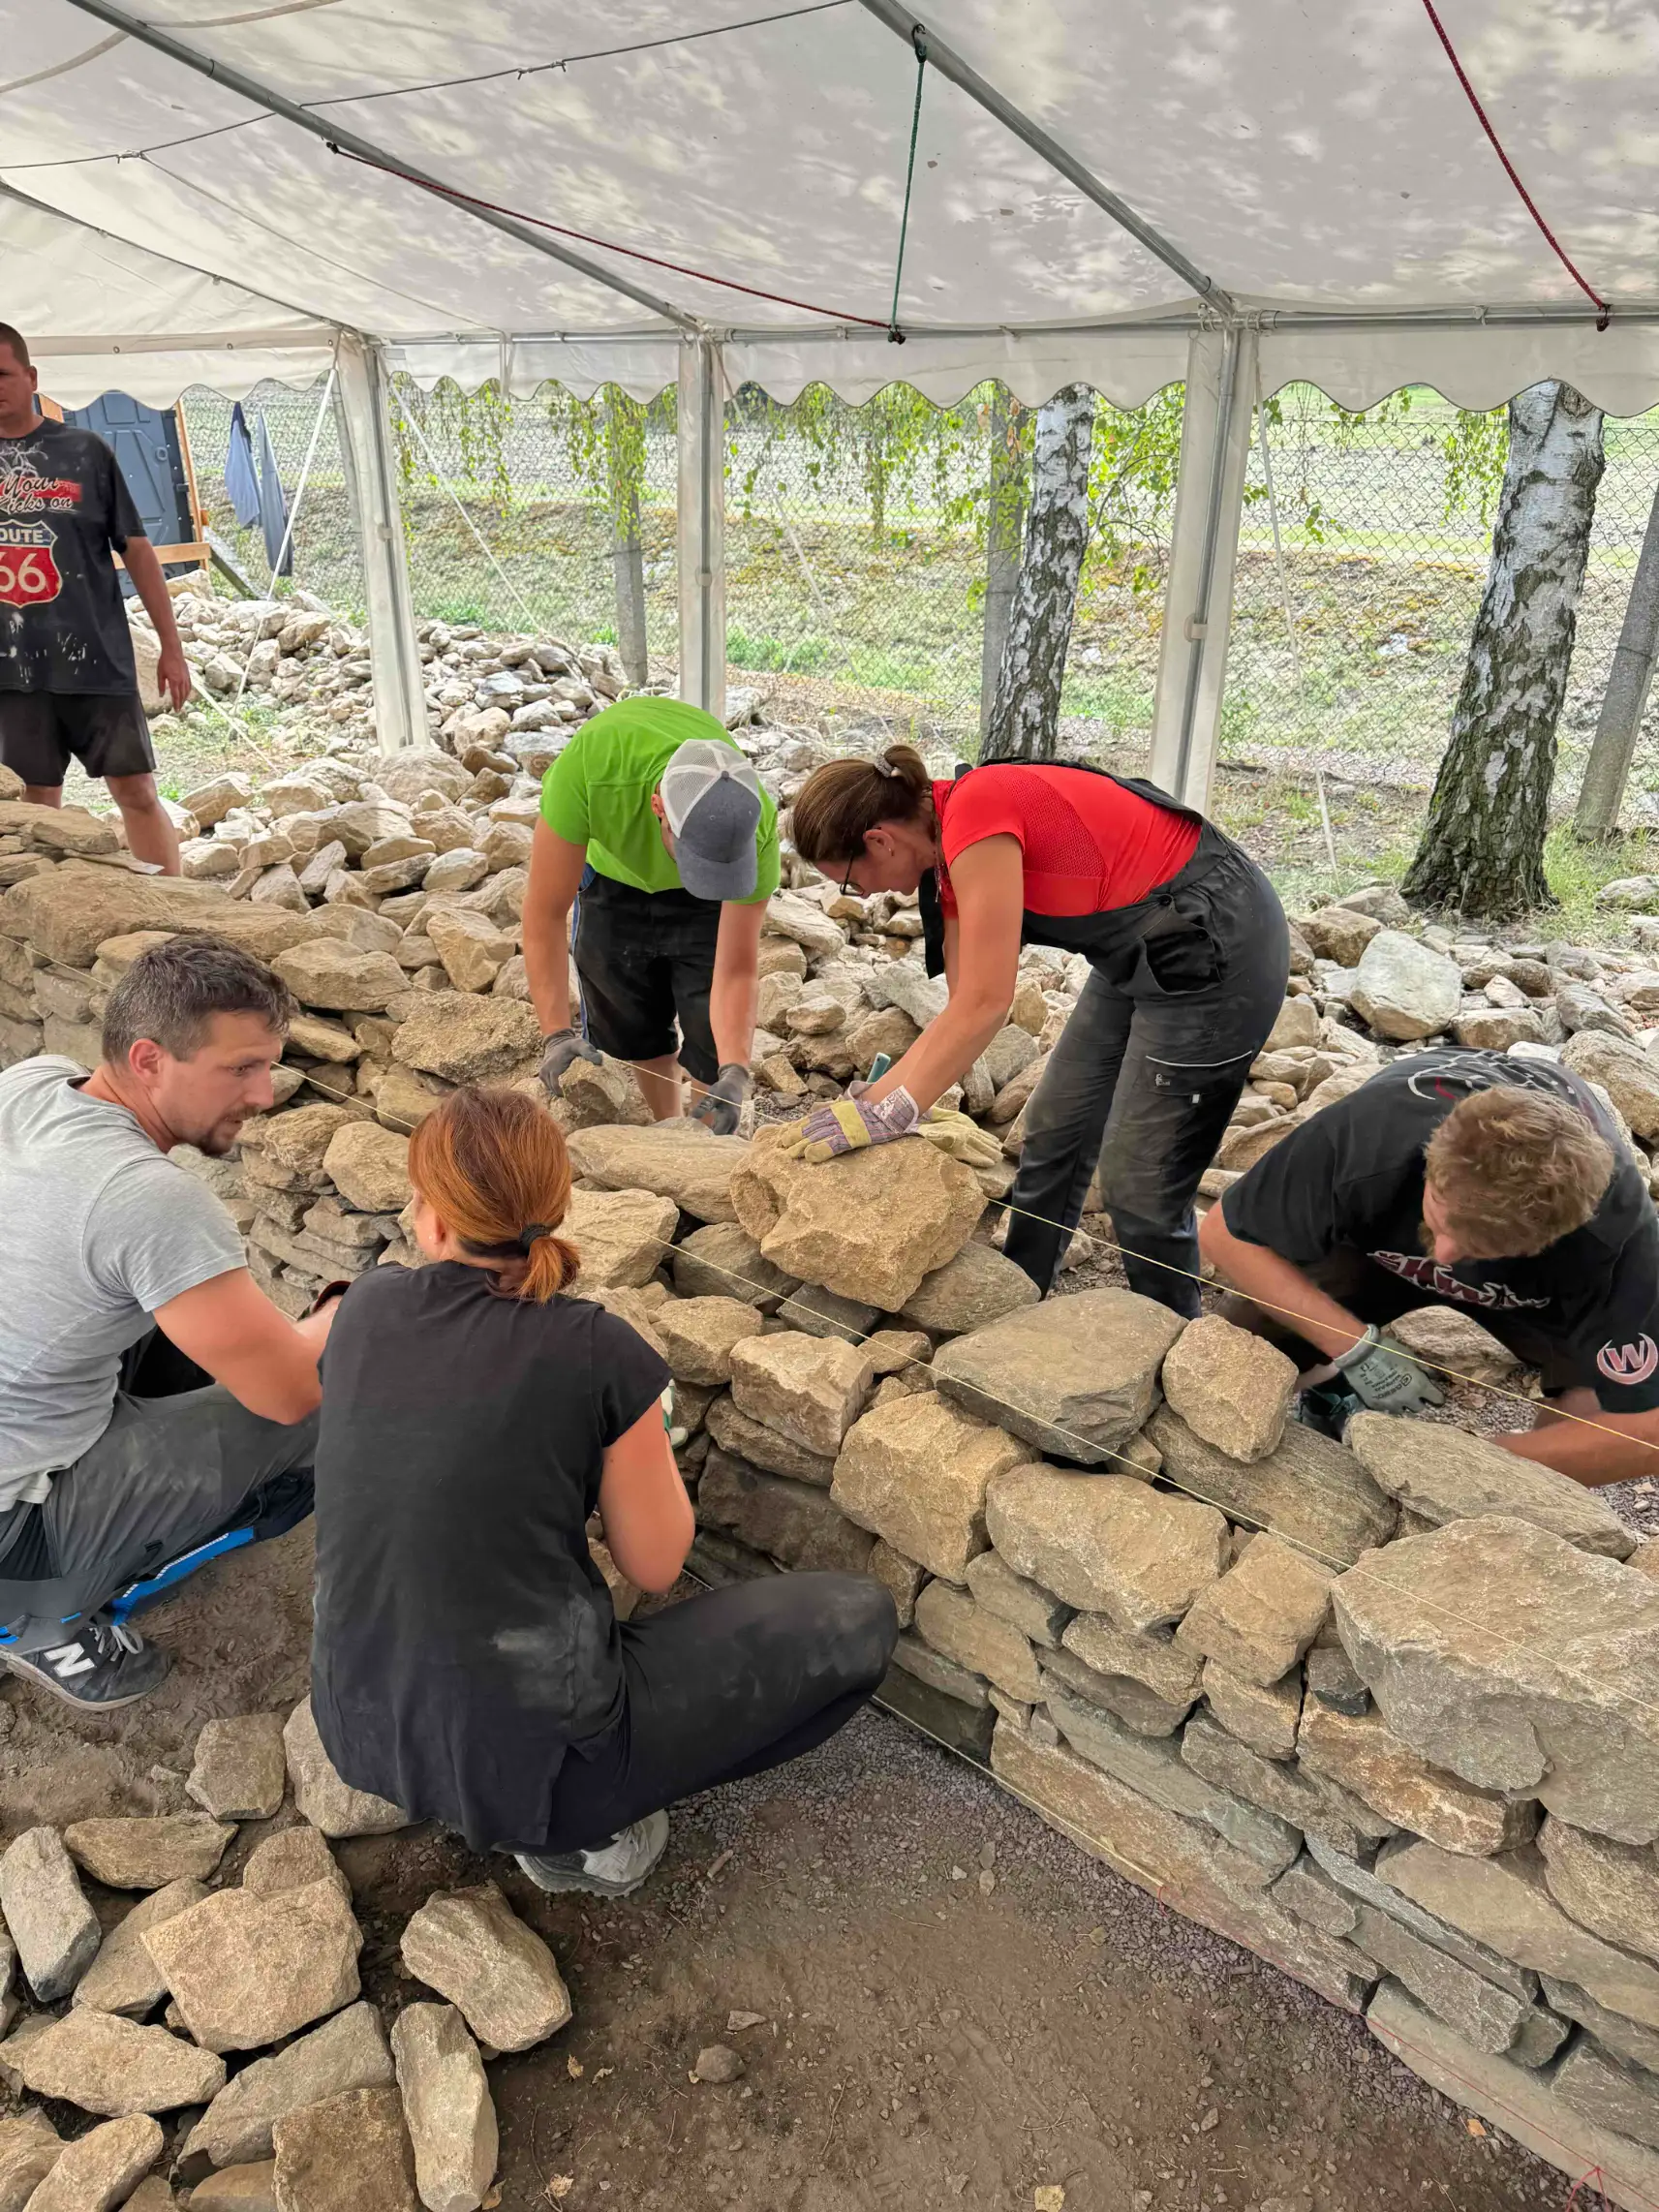
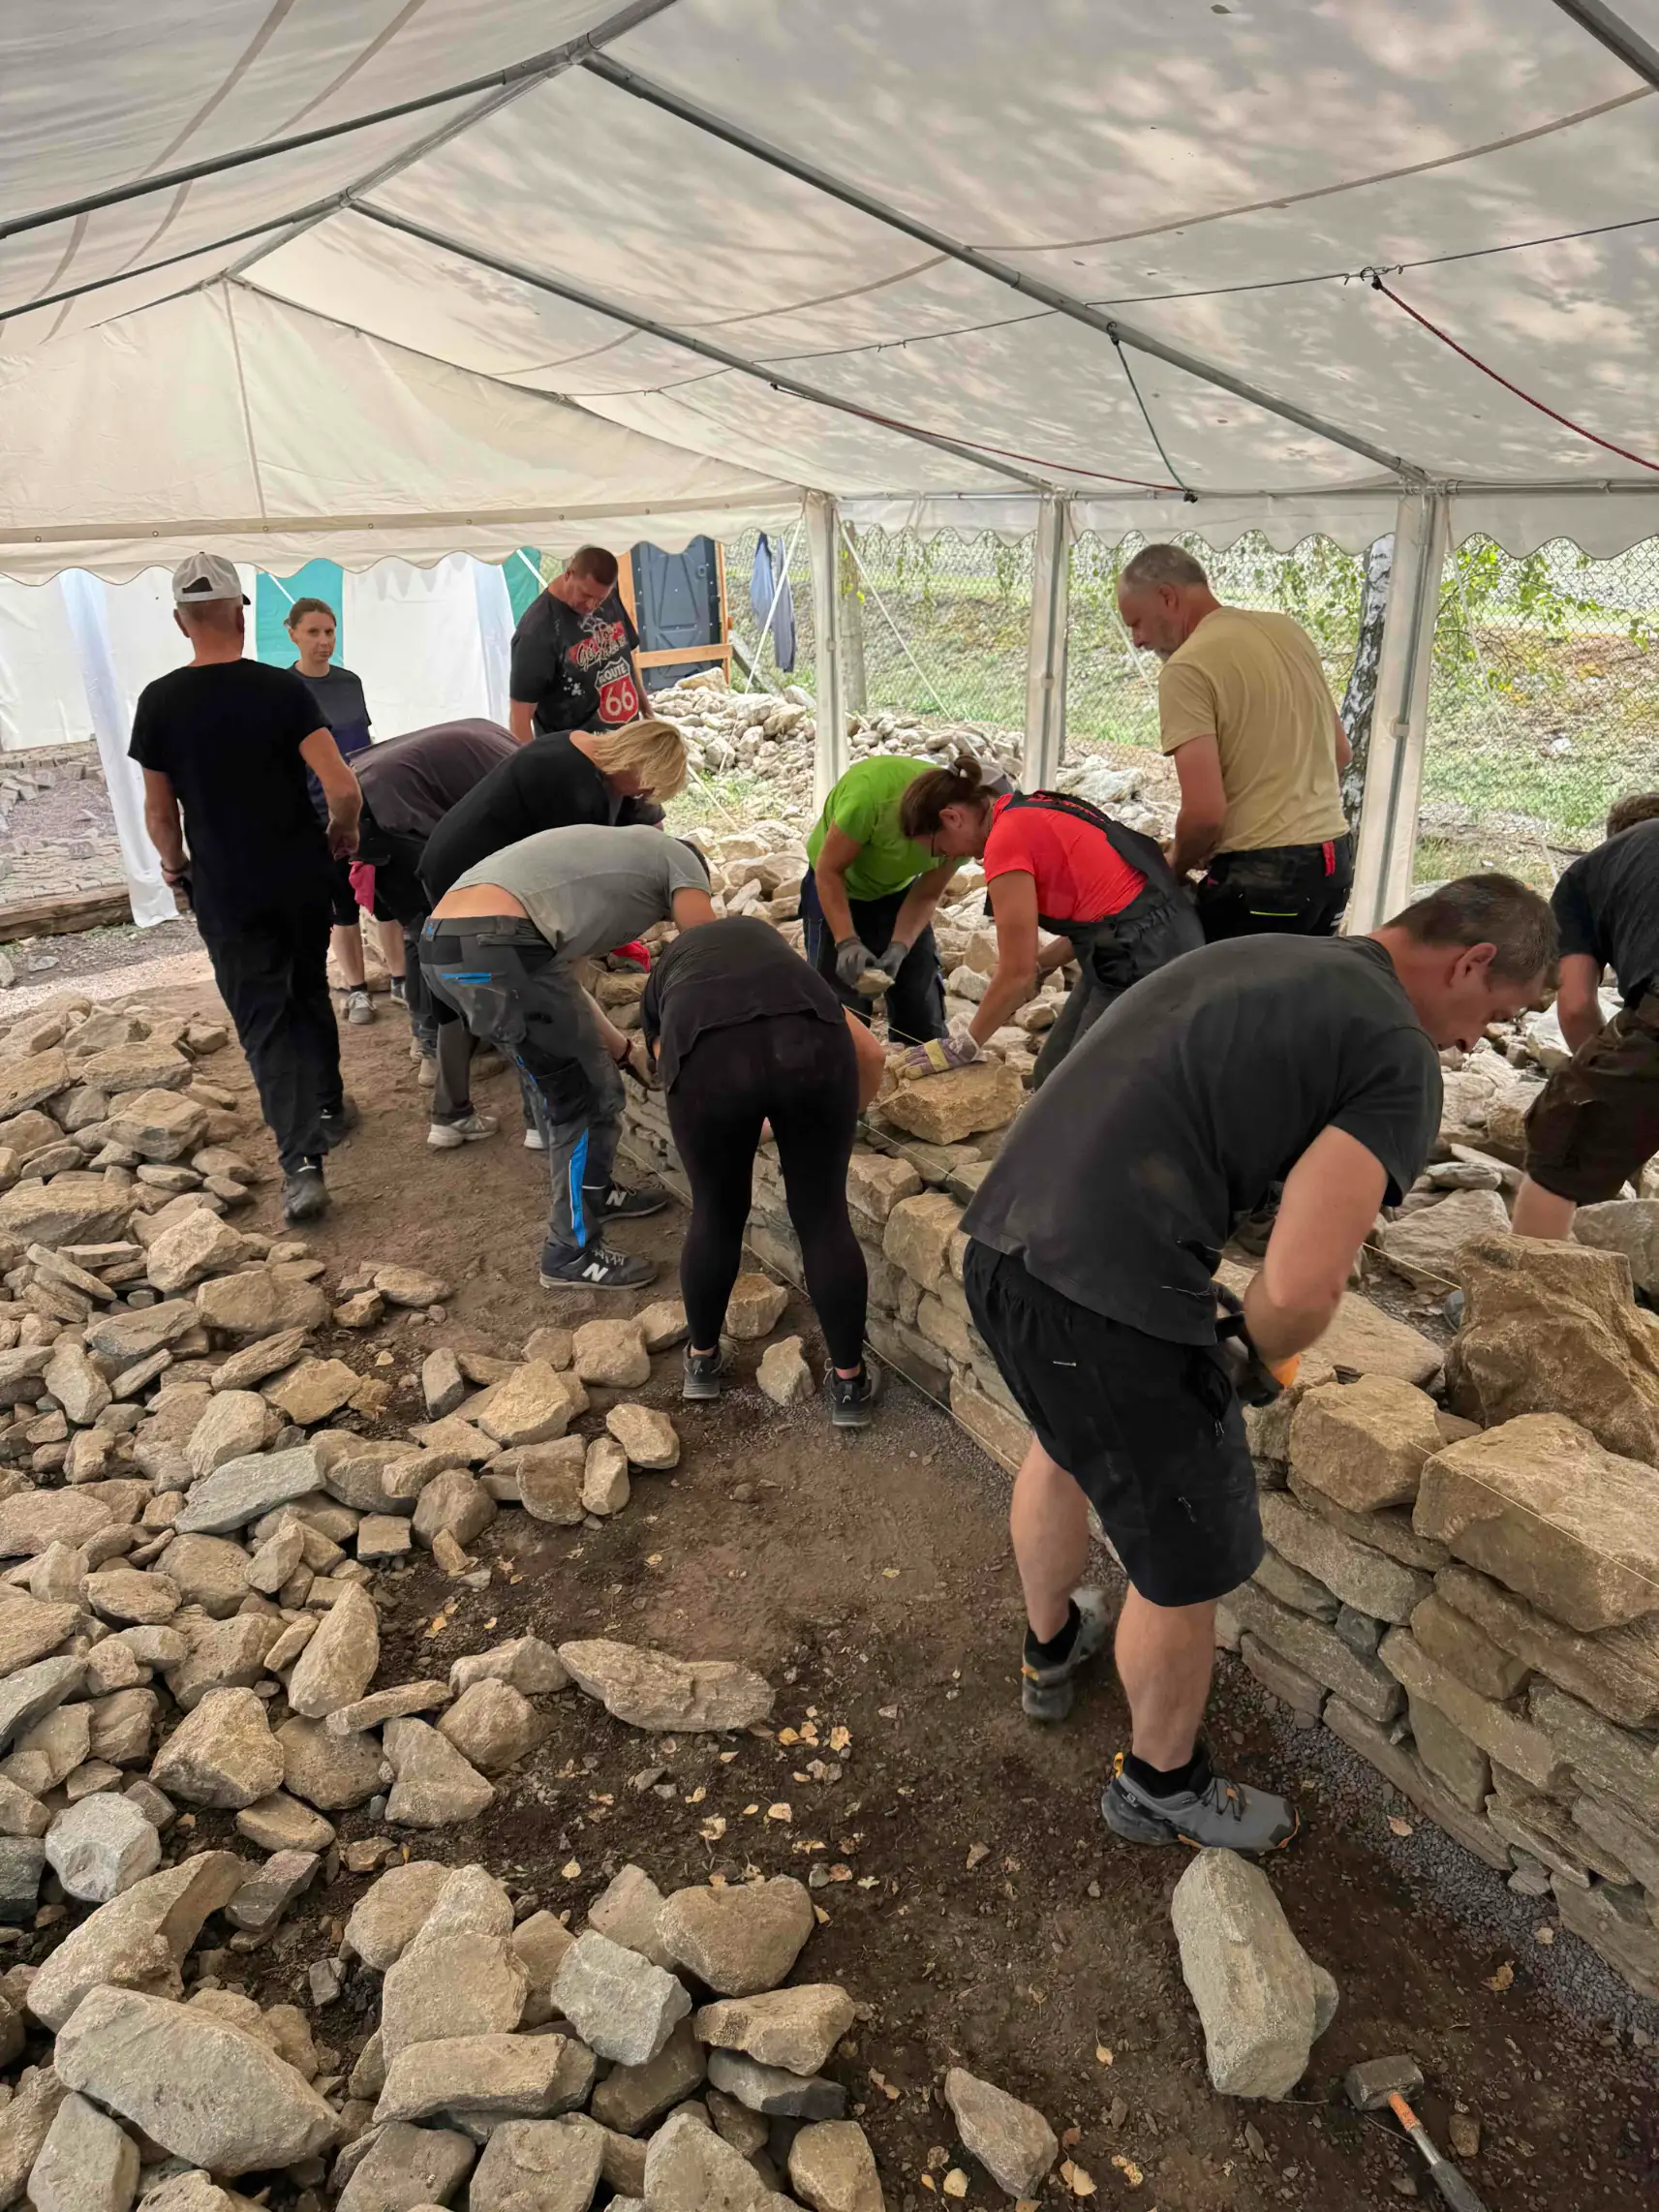
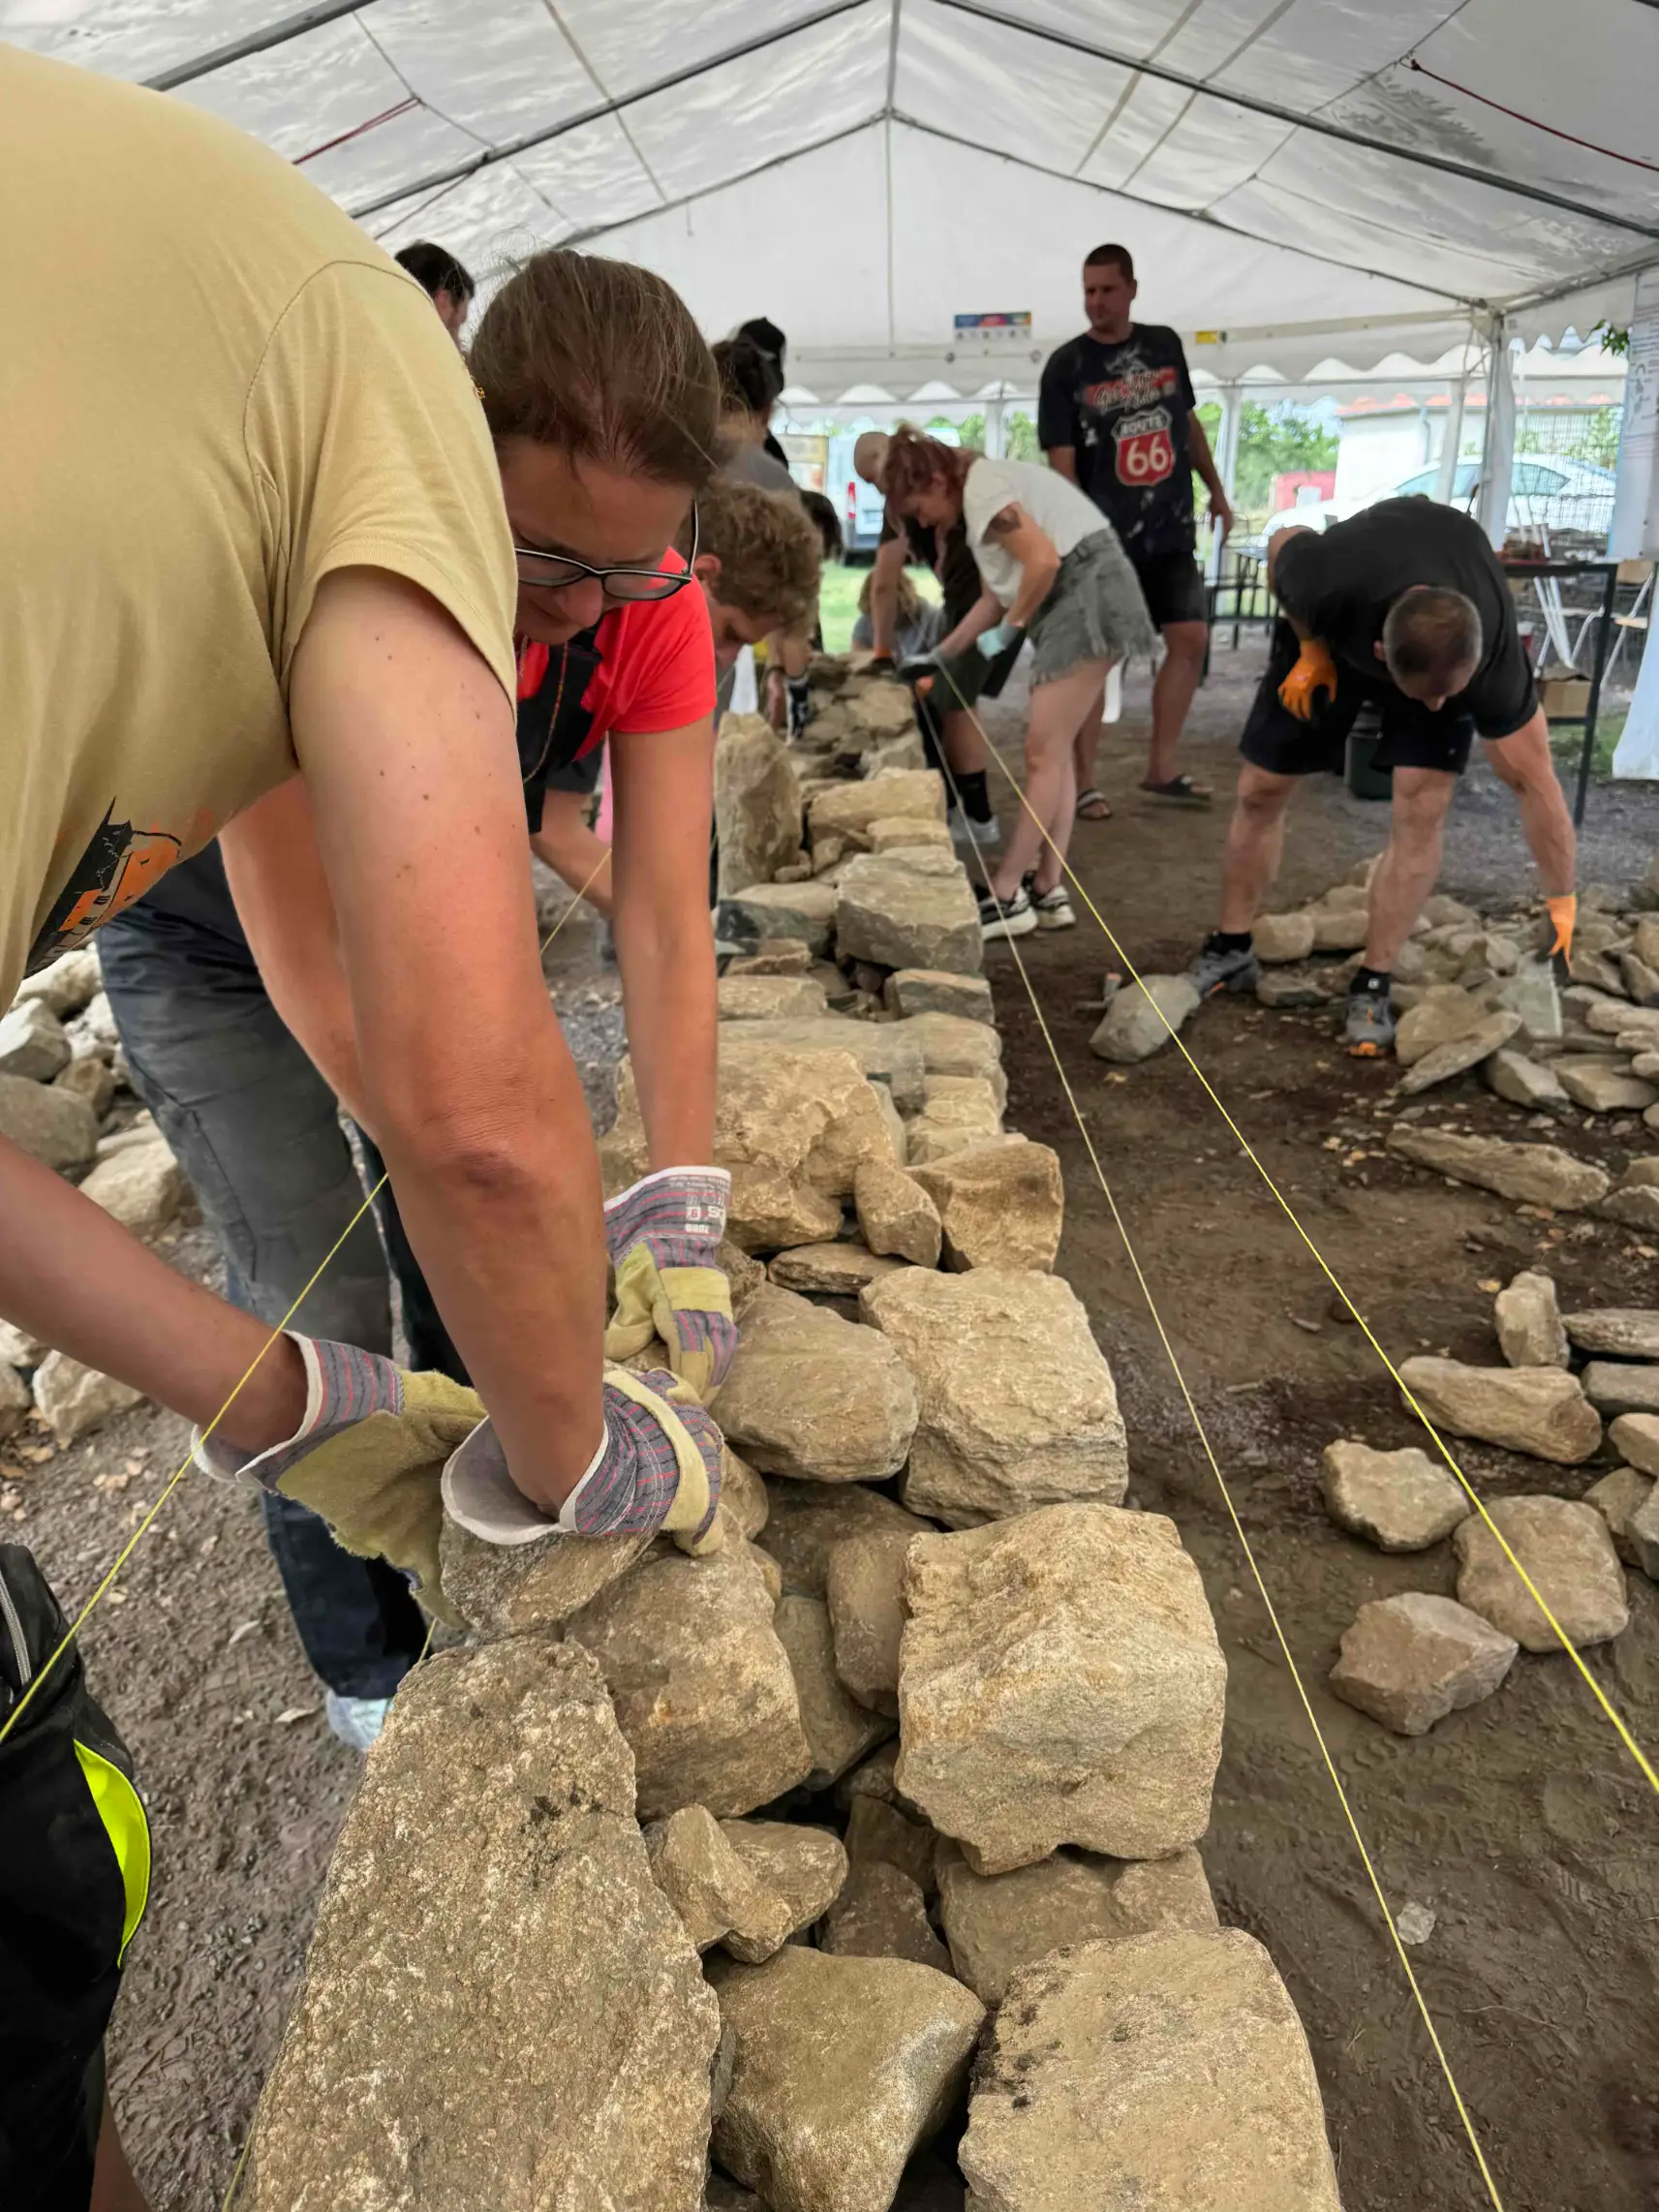
Participants spent the day selecting stones, turning them and testing different positions so each piece would sit securely, extend correctly into the depth of the wall and help create effective bonding with neighbouring stones.
The practical work covered bonding, stable placement, stone depth, avoiding continuous vertical joints, internal wall structure and progressing consistently along the full length of the wall.
Using Stone Already Available on Your Property
Another frequent topic was whether participants could use stone that they already had at home or directly on their land.
This can reduce material and transport costs significantly, but it does not mean that every stone automatically belongs in the wall.
A useful supply should contain a range of shapes and sizes. During sorting, it helps to recognise which stones may work well on the visible face, which should extend deeper into the structure, which could form a corner and which pieces may be more useful elsewhere.
Stone Seating Was Another Real Participant Project
Several participants were also considering stone seating. A low wall may later function as a bench itself or support a timber seat, but the stone structure first has to work correctly on its own.
Only after that do questions such as finished seating height, the top of the wall and attachment of any timber element become relevant.
This is another example of how the same basic stonework principles can be adapted to a very different practical use.
We Do Not Teach One Wall. We Teach the Principles
The purpose of the course is not to teach participants to copy the exact wall standing in front of them.
The goal is to understand the principles well enough to apply them later to their own terrain, their own stone and their own project.
That is why one question appears repeatedly during the day: why?
- Why should this stone be turned?
- Why should it not sit only on the outer edge?
- Why should a vertical joint not continue through several courses?
- Why does the wall need to bond through its depth?
- Why is one stone suitable here while another should be saved for a different position?
The ability to make those decisions for every new stone is one of the parts of traditional stonework that is most difficult to learn from photographs or short videos alone.
Hands-On Work Makes Up Most of the Day
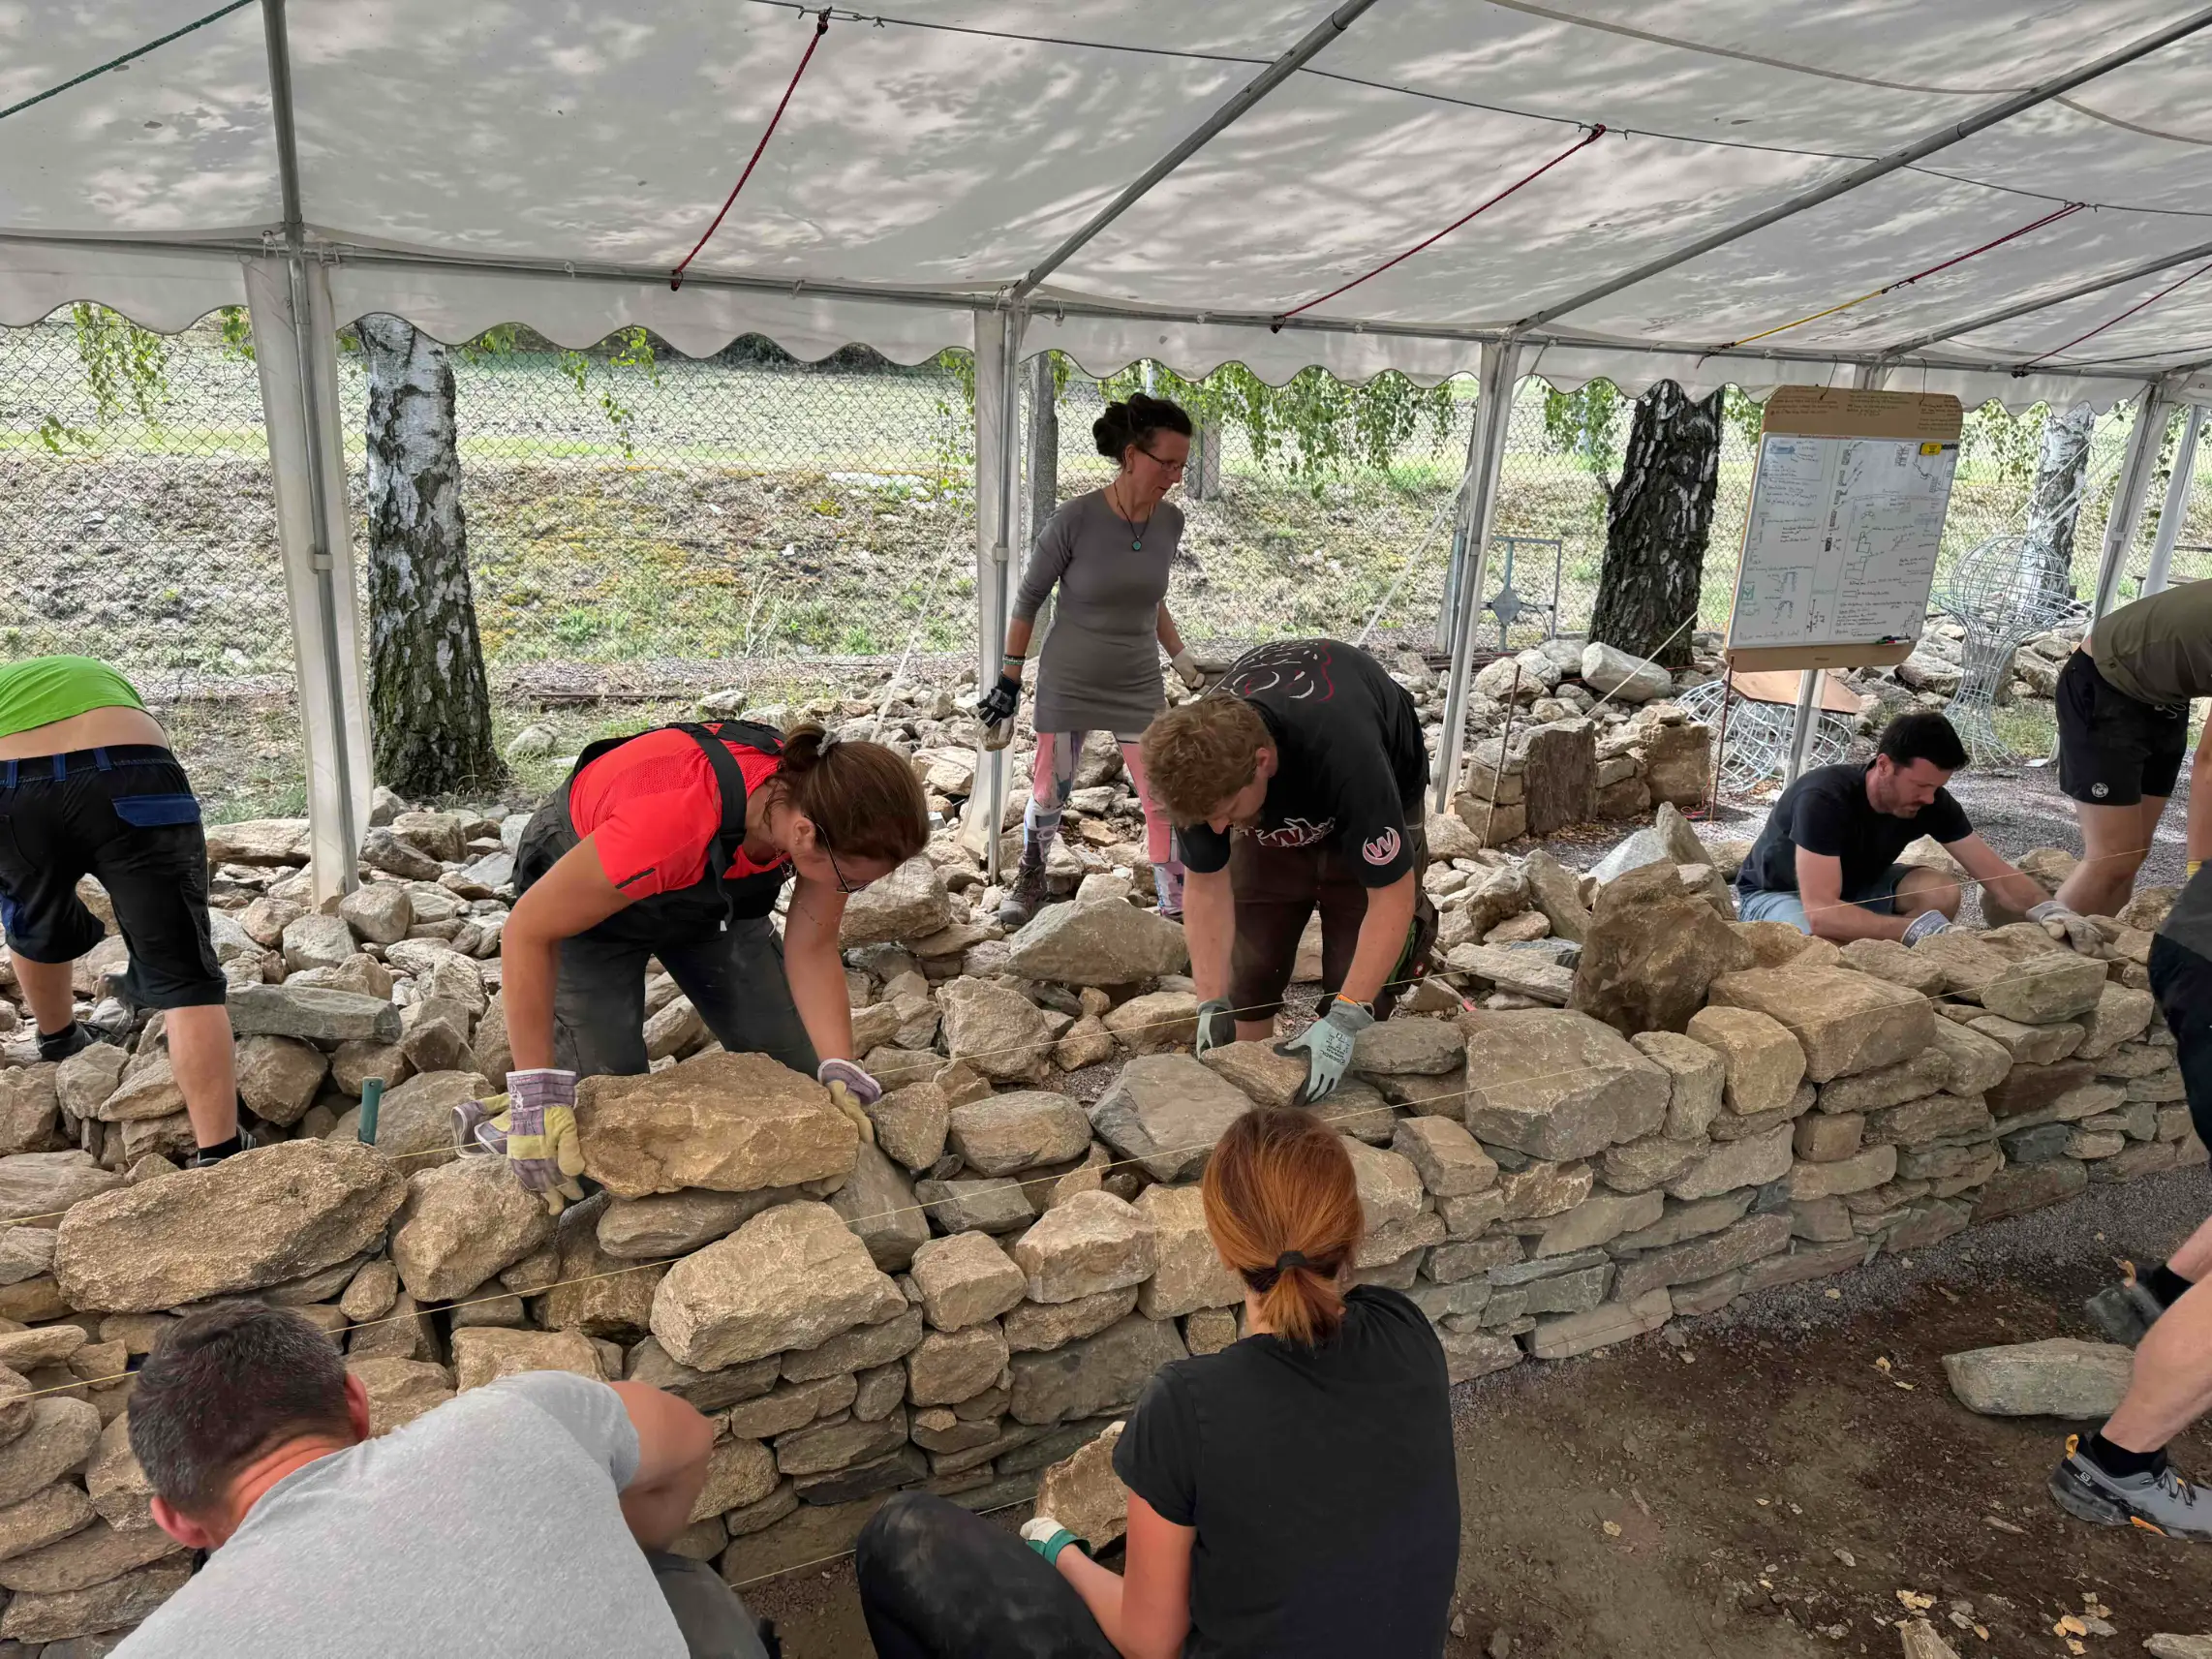
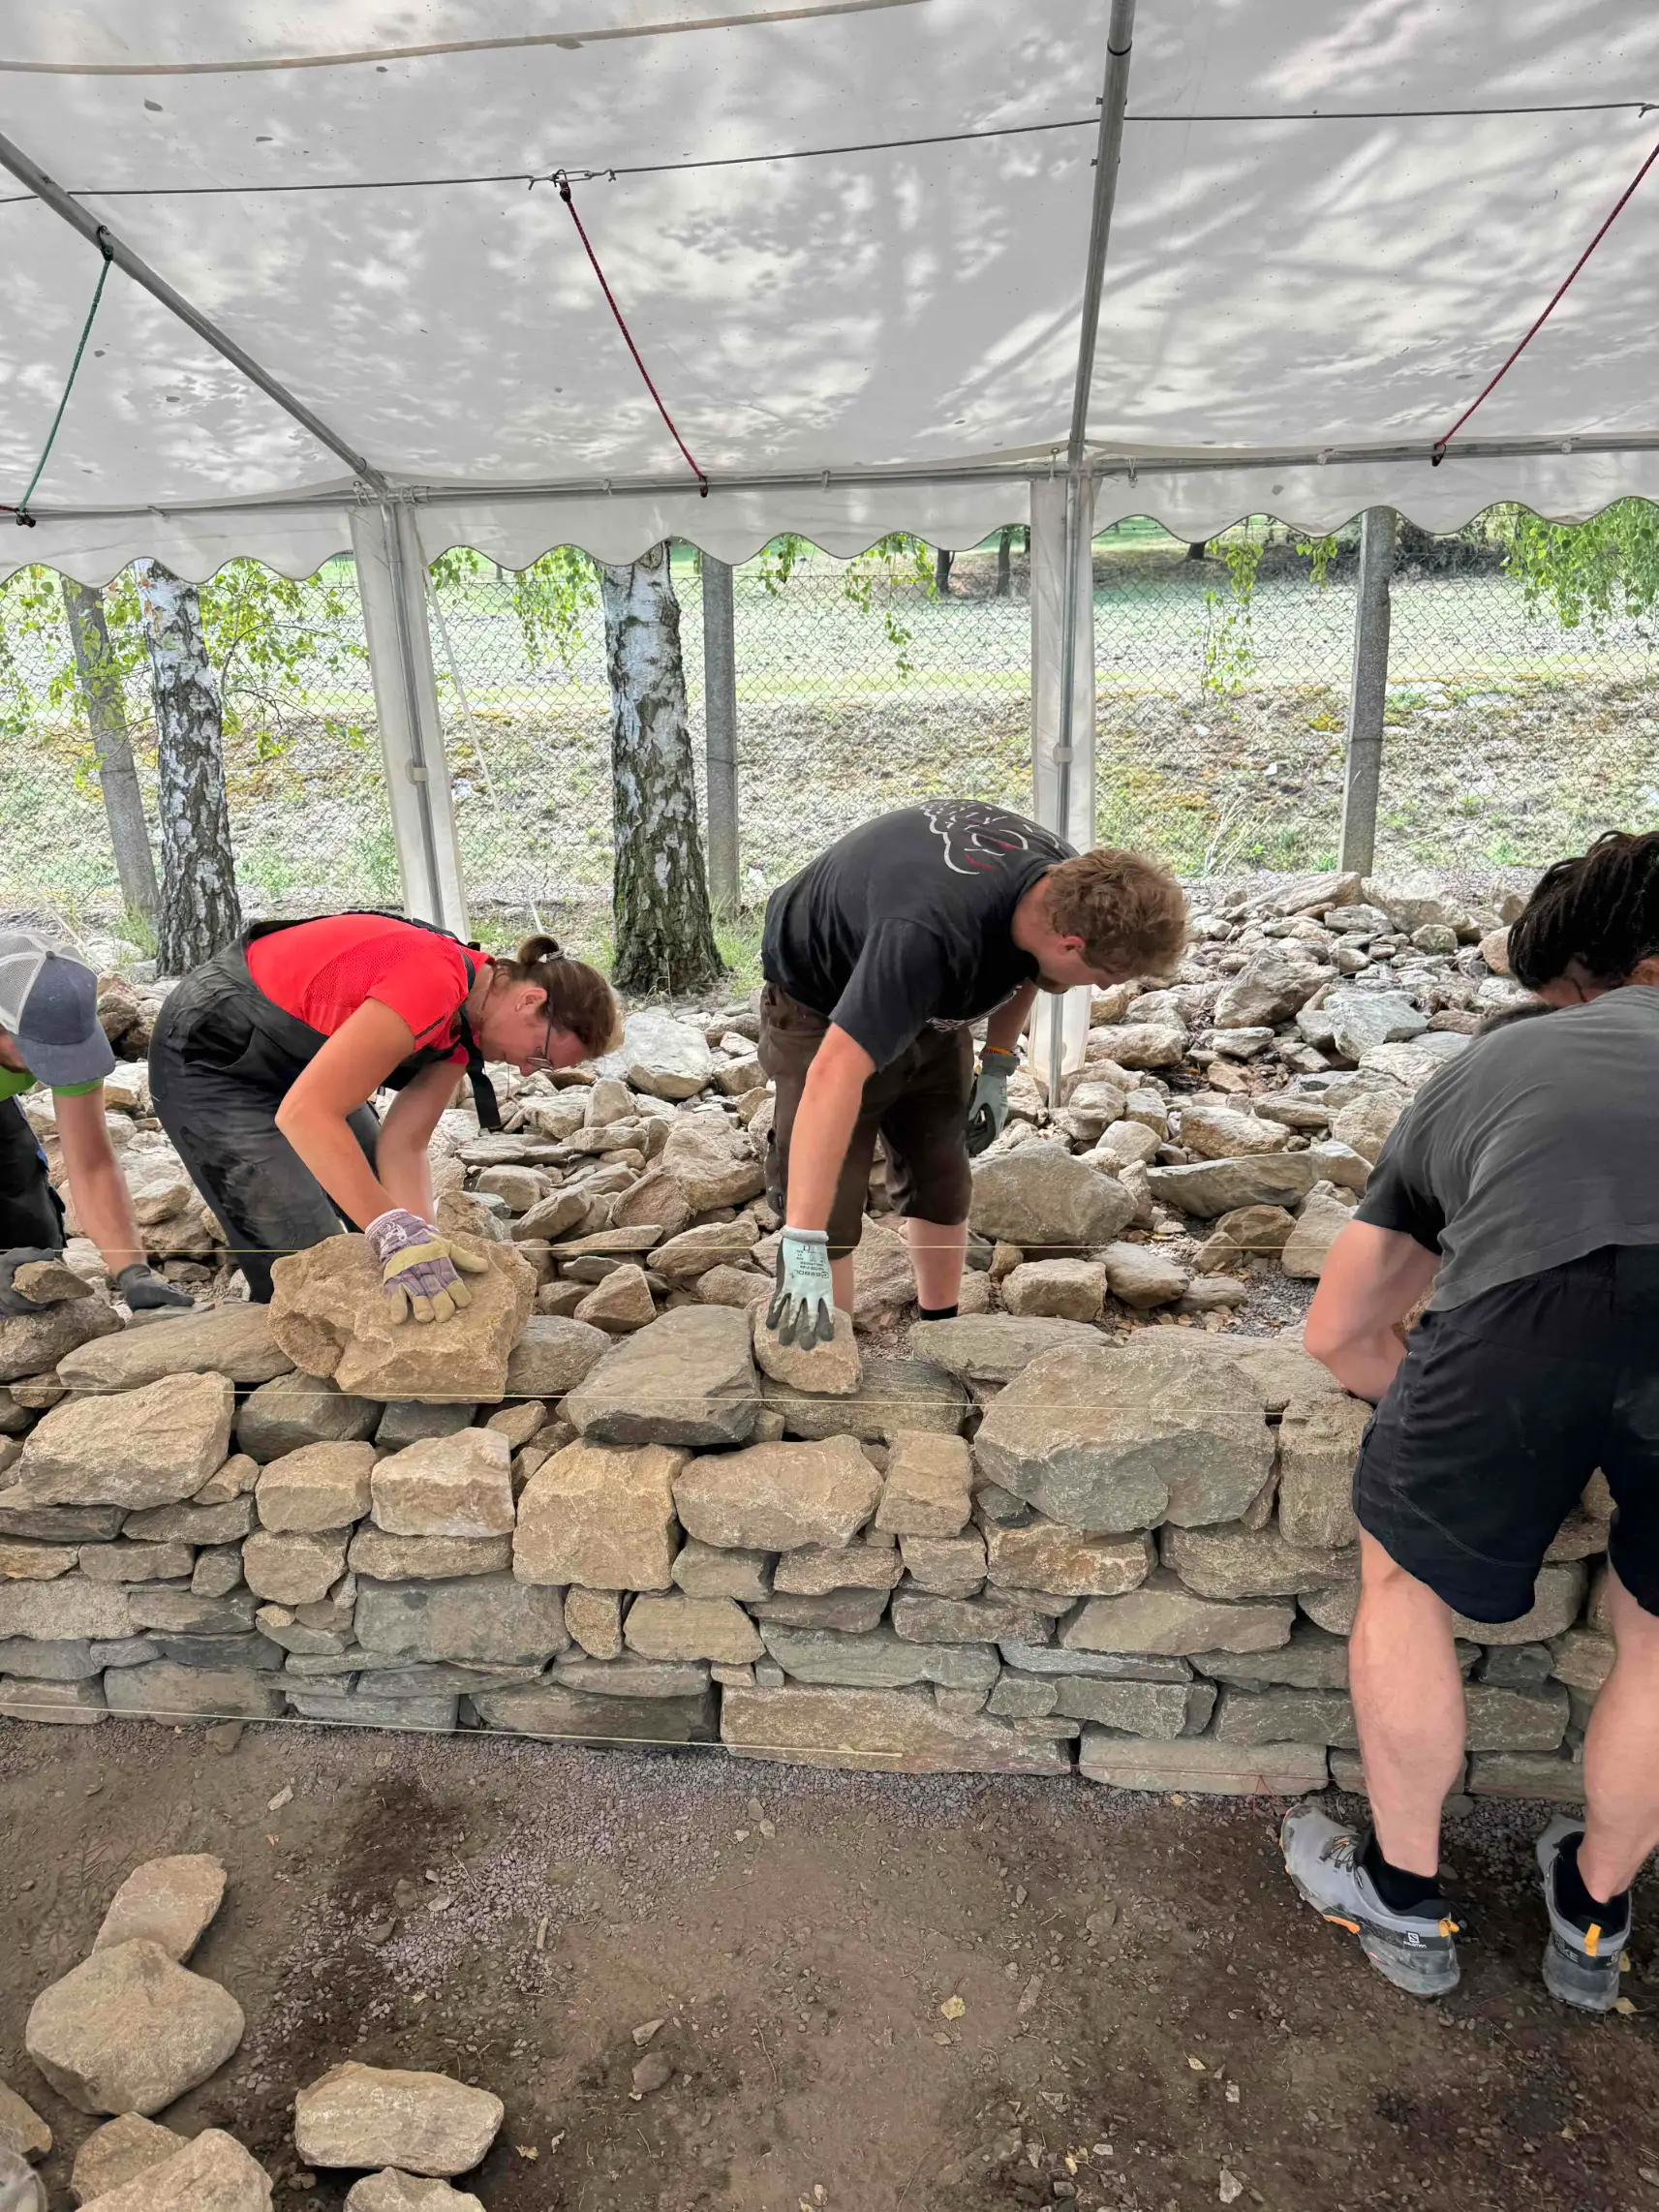
The basic rules can be explained relatively quickly. Real understanding begins when a participant picks up a stone and has to decide independently how it should be used.
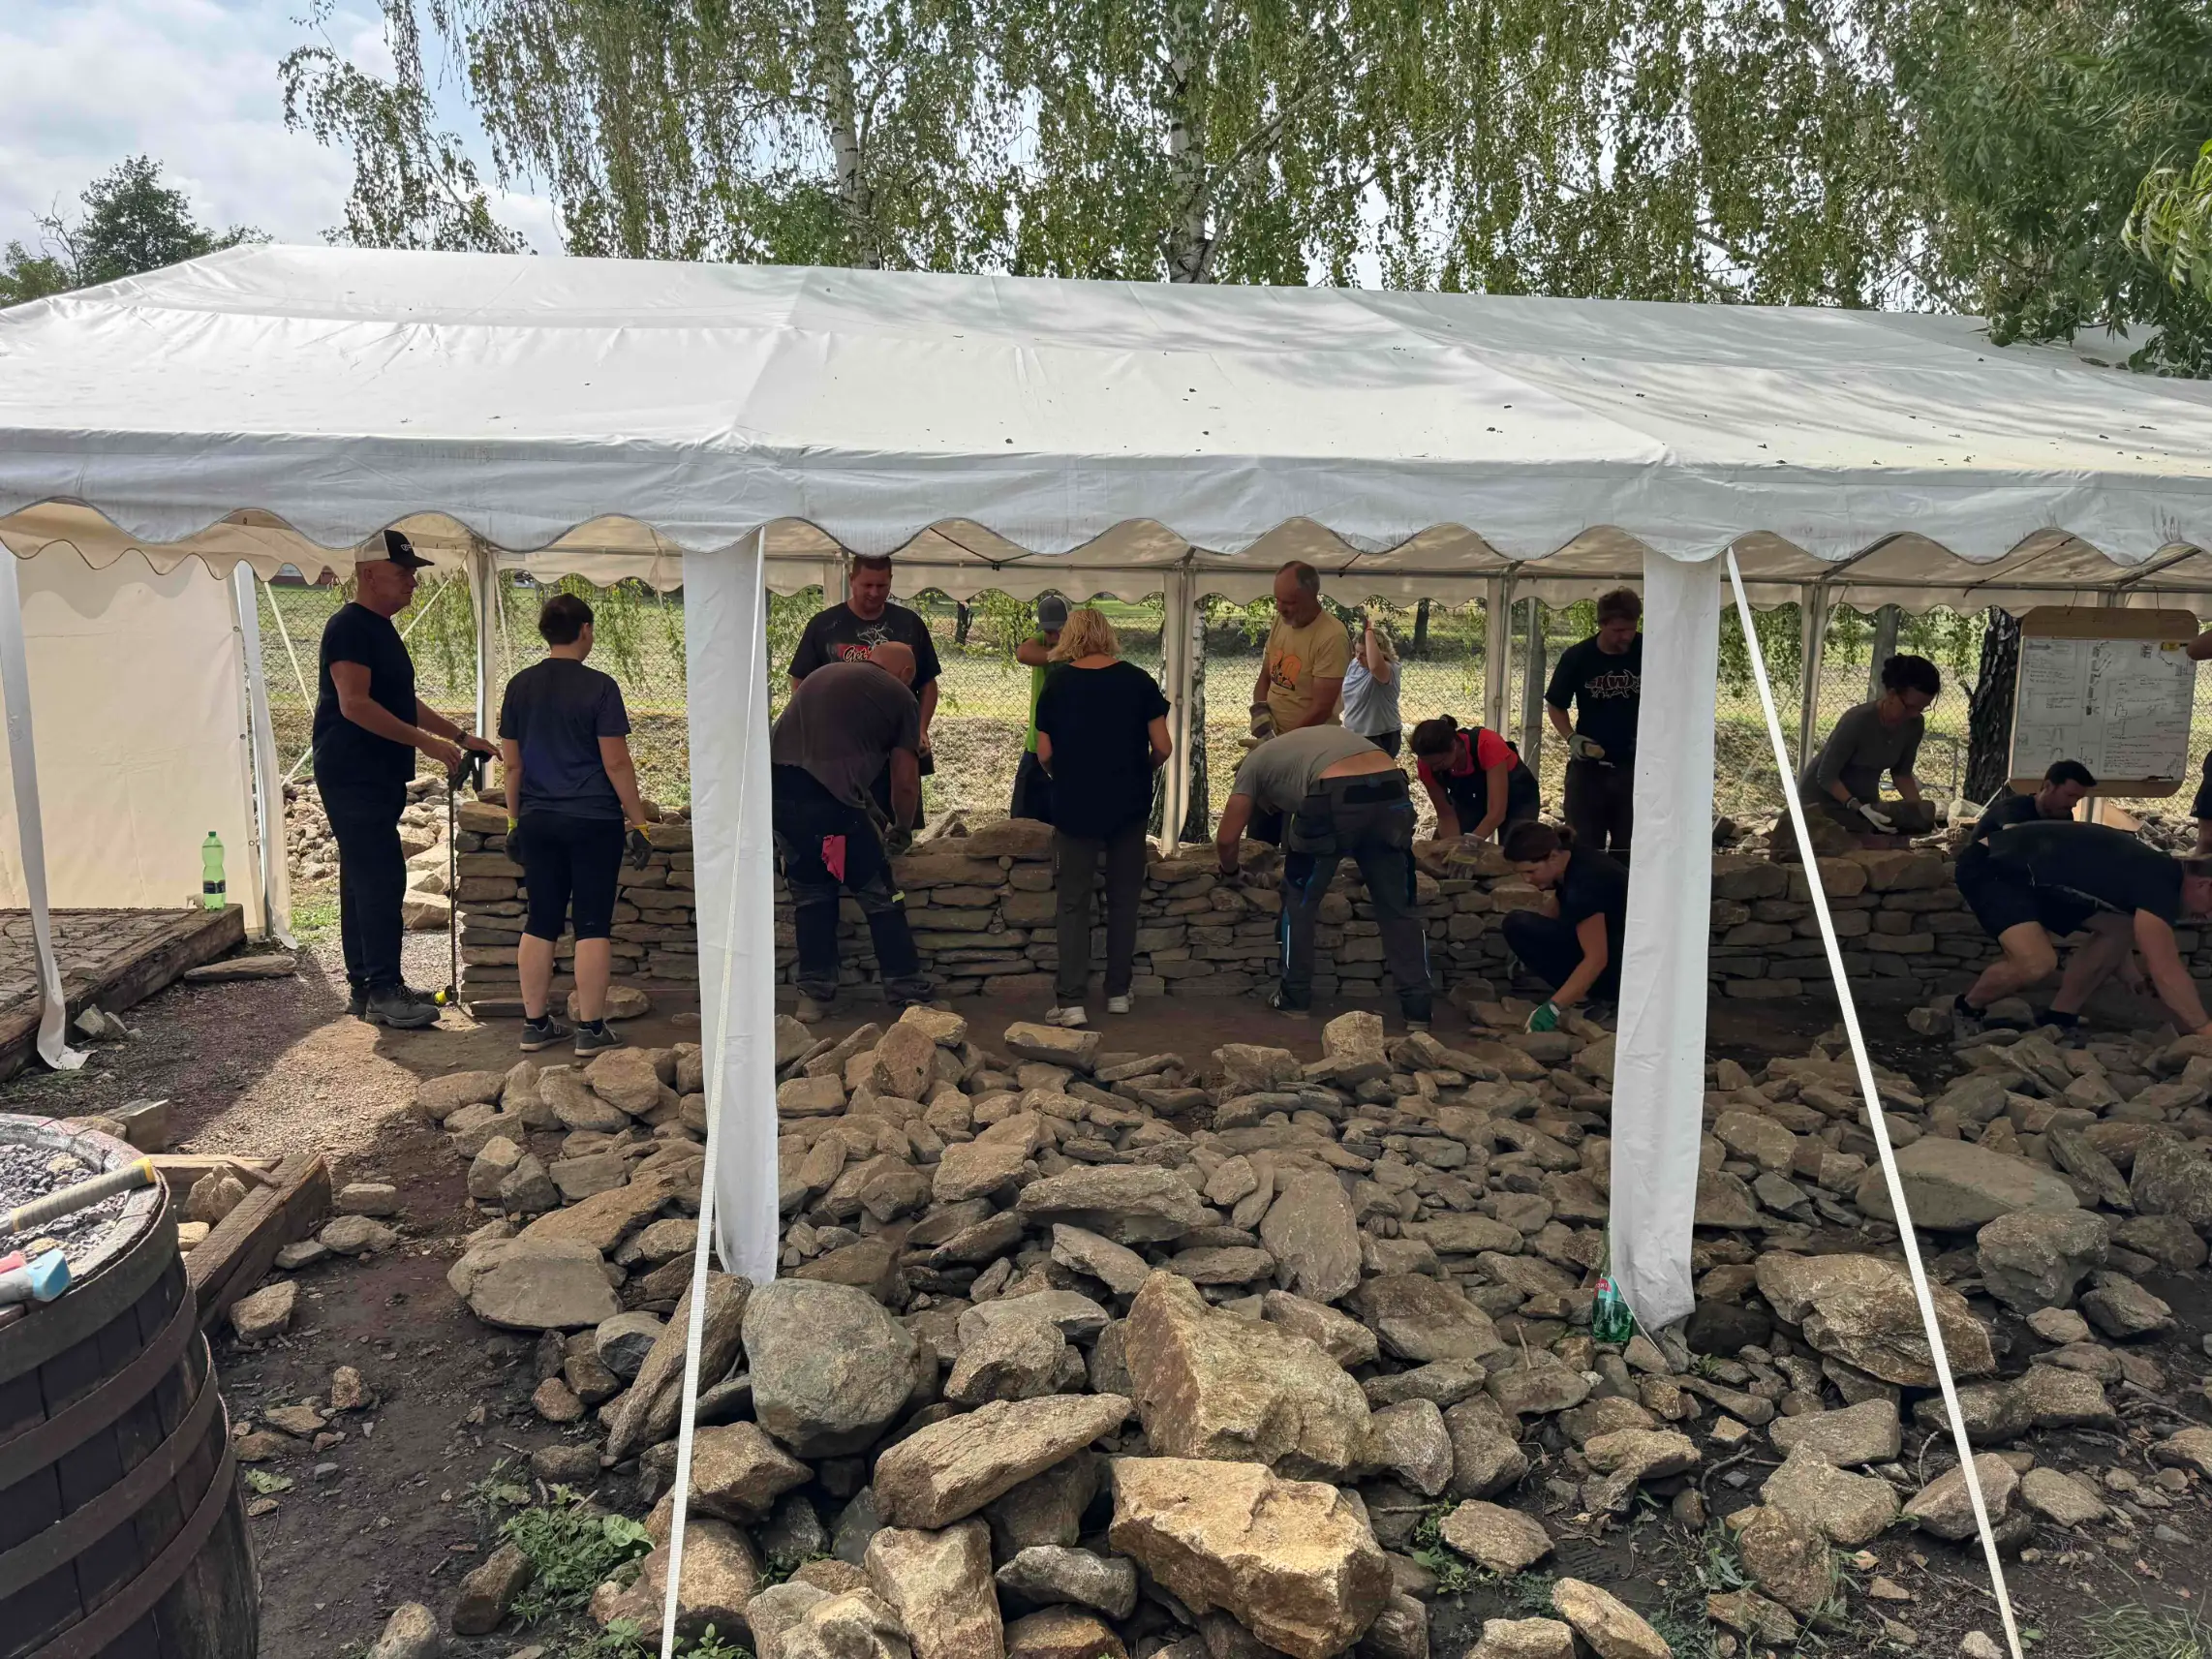
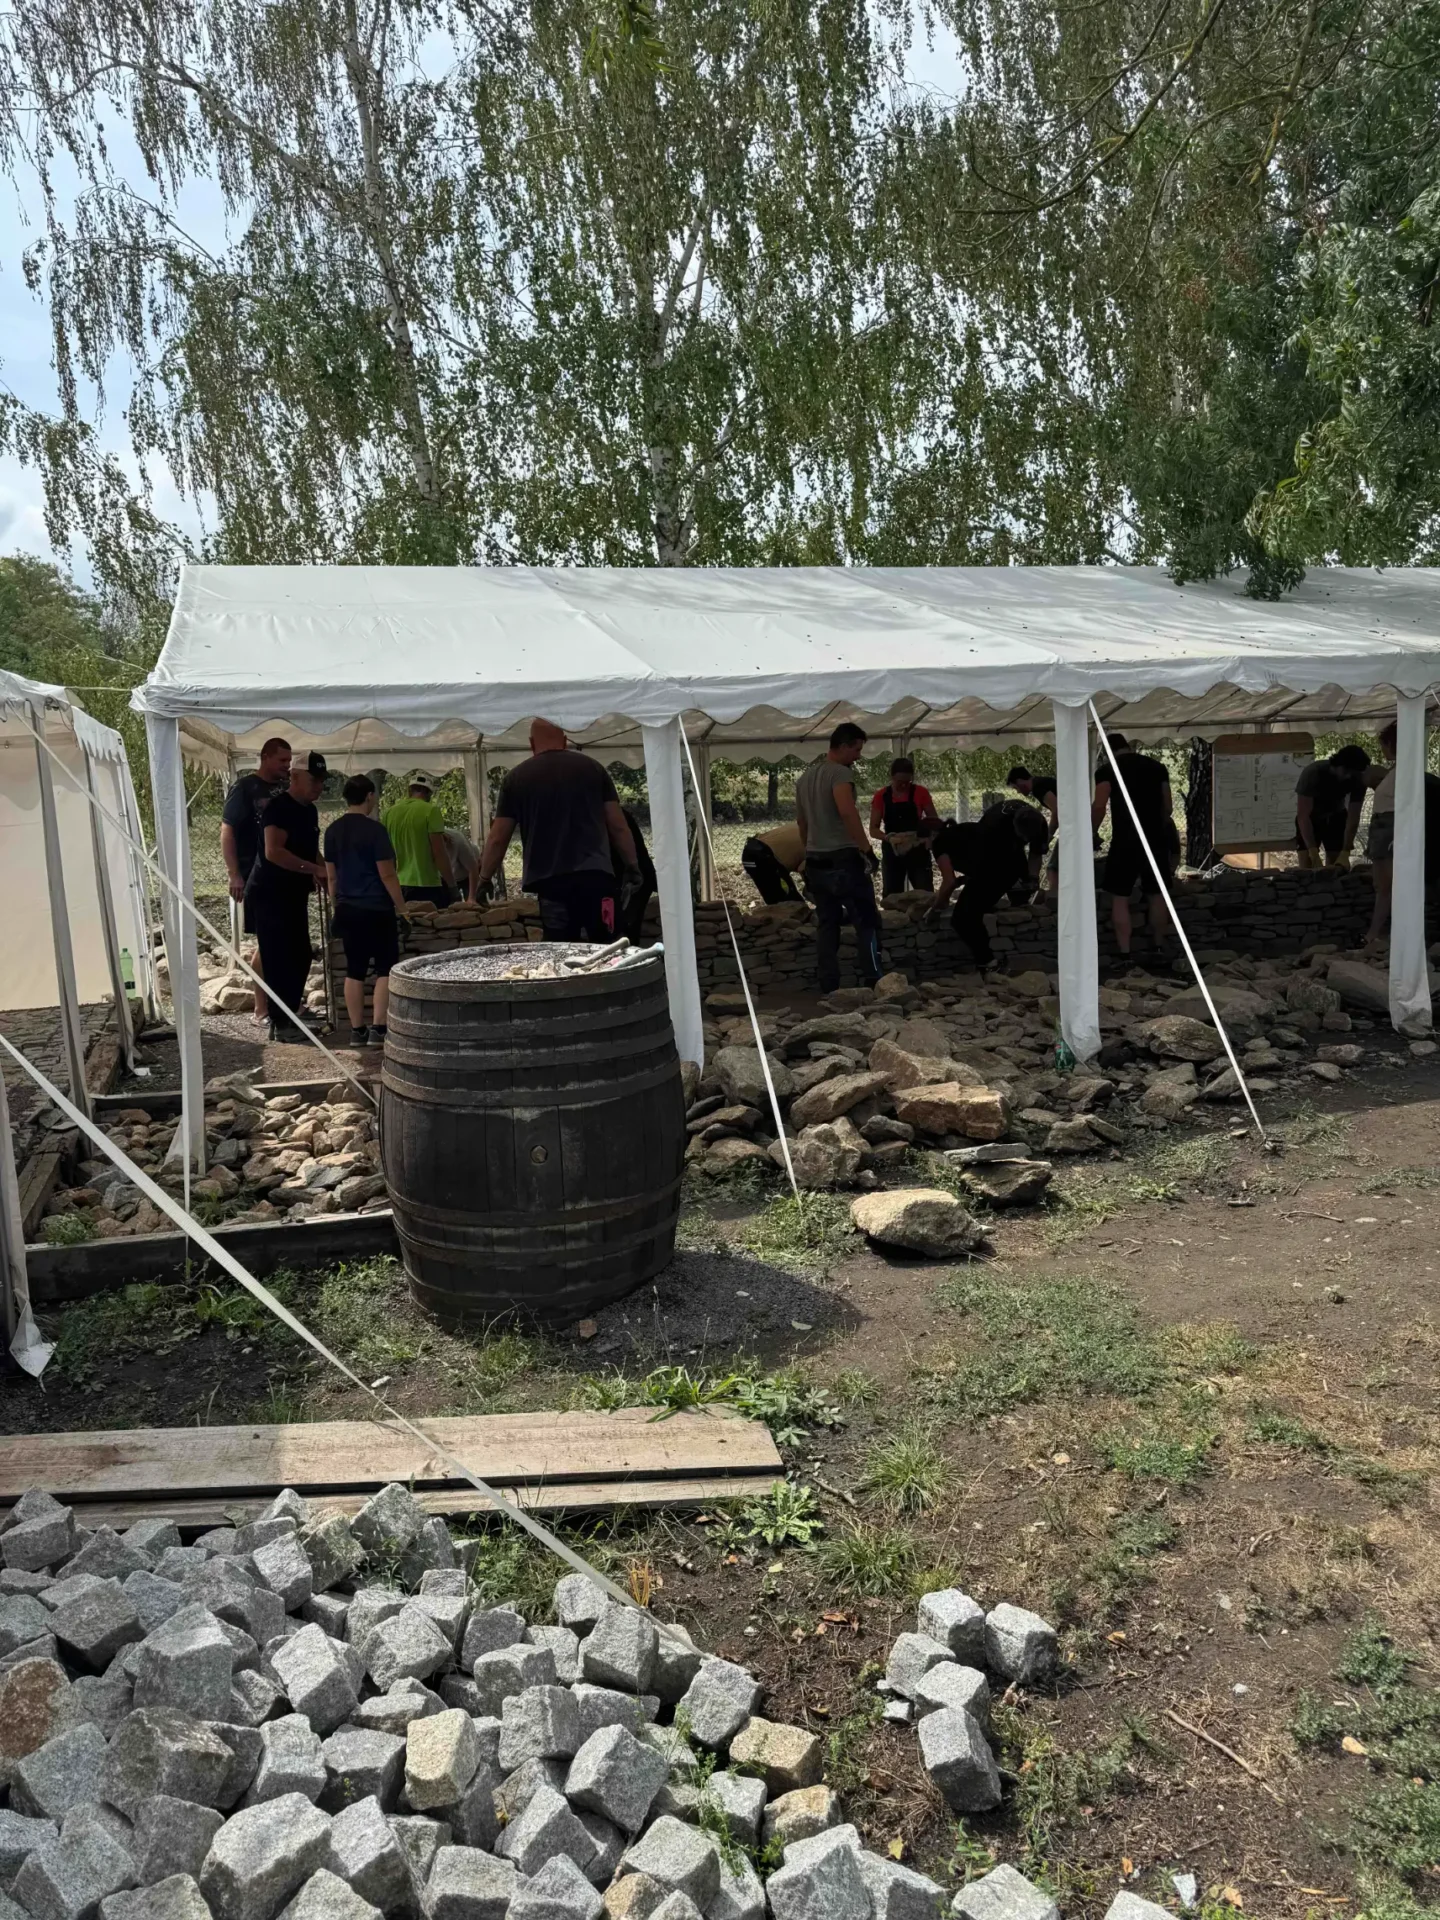
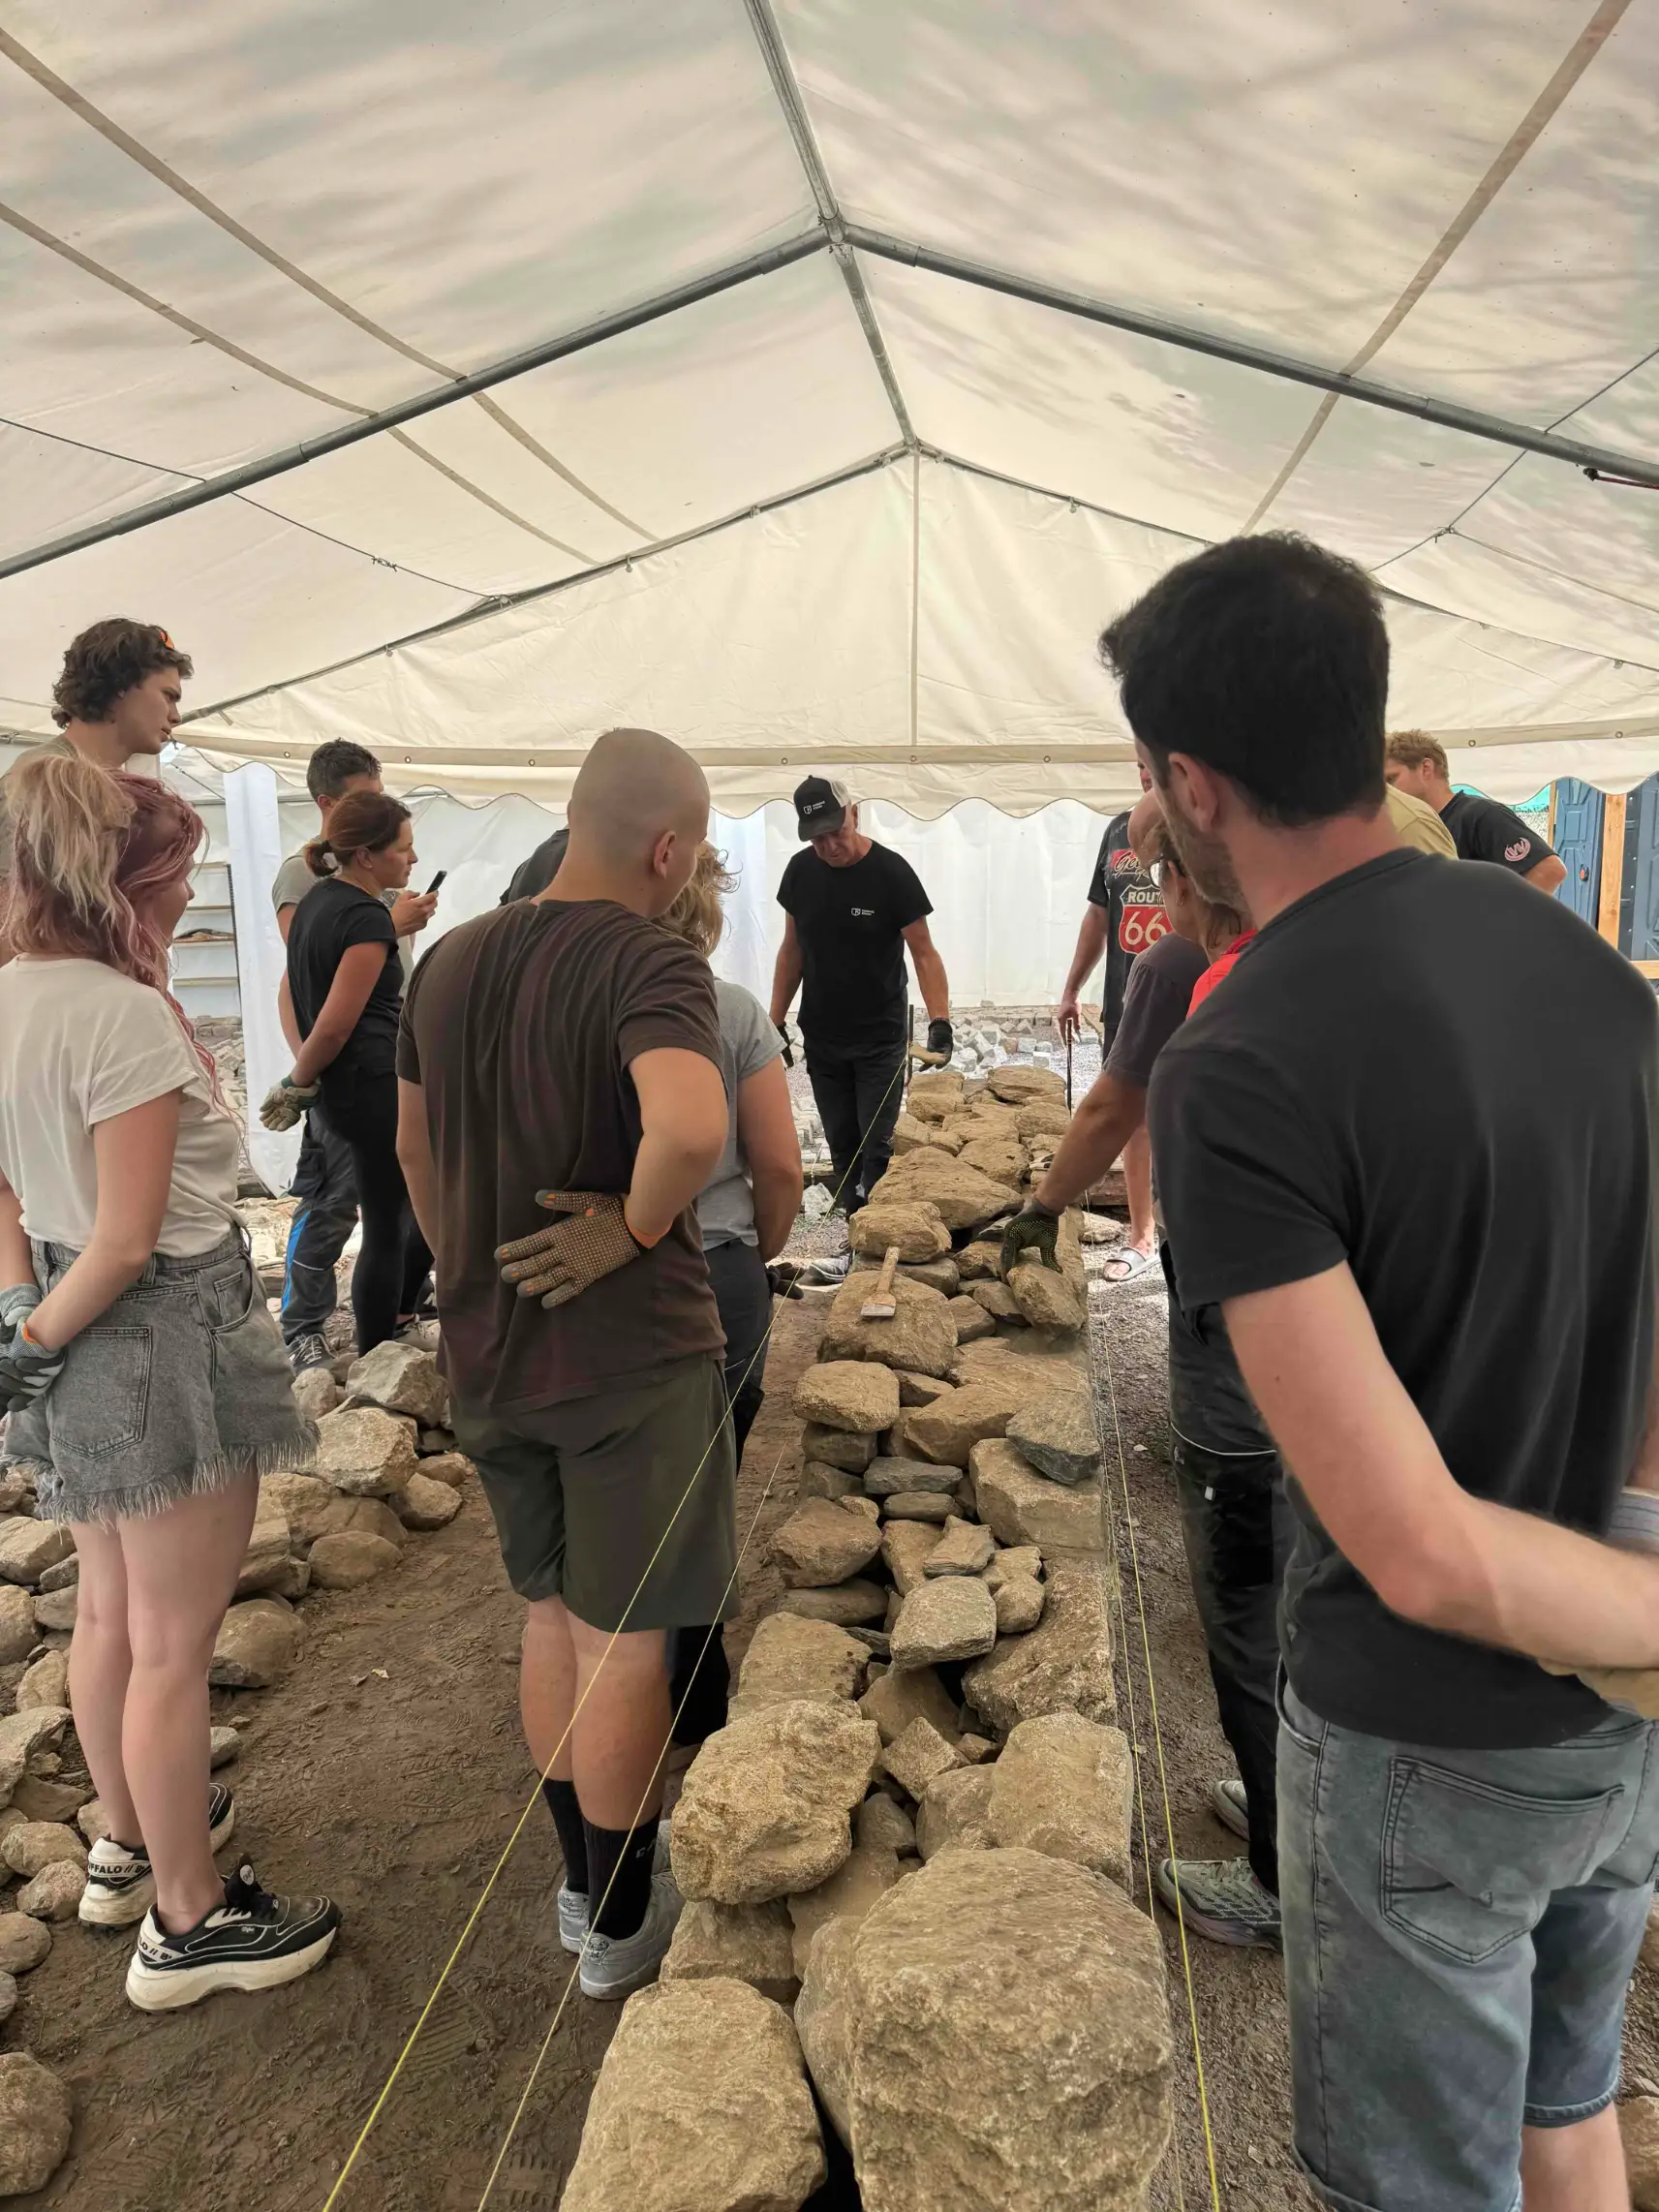
That is why most of the course takes place directly at the wall. Participants build, search for suitable stones, test different possibilities and receive continuous feedback on why a particular solution works or does not.
From Site Preparation to Checking the Wall as It Develops
A one-day course naturally cannot complete the full project that someone may be planning at home. It can, however, take participants through the decision-making process they will encounter during their own build.
That includes preparing the site and first course, selecting and positioning stone, checking bonding and continuously monitoring the geometry of the developing wall.
For retaining walls, we also discuss terrain and water and explain where a general course or online guide is no longer enough and the project deserves individual technical assessment.
Good Geometry Is Not Enough: the Wall Must Be Stable Inside
A string line helps maintain the intended direction and shape of the wall, but it cannot create structural stability by itself.
Stability comes from the way the stones are actually seated and bonded together. A visible face can look excellent while the internal structure behind it is poorly built.
That is why the course does not focus only on what can be seen from the front.
Have Your Own Project? Bring It with You
The 21 August course again showed that some of the most useful discussions begin with real questions from participants.
If you are planning your own dry stone wall, you can bring photographs of the site, a sketch, dimensions or photographs of the stone you already have available.
This allows us to relate the general construction principles to the conditions you are likely to encounter when you begin your own project.
Want to Learn Dry Stone Walling Hands-On?
On our practical Dry Stone Walling Course, you work directly with irregular natural stone and can also discuss your own planned project during the day.
You can also explore all practical stonework courses and available dates.
Who Is Behind This Article